Using SSH (secure shell) to access the OCF servers involves:

1. Downloading SSH
2. Installing SSH
3. Using SSH

Below are step by step instructions for the entire process. Screen shots have also been taken to make things easier to understand. If you have already downloaded SSH skip to Step 2.

Step 1: Downloading SSH from software.berkeley.edu


Go to the website http://software.berkeley.edu and the webpage below should appear. Then scroll down, look at the blue box to the right (the Windows platform) and click on the link that says:

  • SSH Secure Shell

  • Click on the link that reads:

  • Download from UCB

  • Reminder: You must be a current student to be able to download the program. Click on the CalNet Authentication button to start the download.


    A window will pop up. Enter your student ID and password. Your password is the same as the Bearfacts password.


    After authentication a window will popup prompting you to save the application file. Click save and remember where you saved the file.


    Once you have the file. Double-click on the file to start the install process.


    Step 2: Installing SSH


    This should be the first screen you see when you run the installation program. Click on the next button to continue.


    This screen shows the licensing information. Read at your own risk. When done click on the Yes button


    This screen chooses where to install the SSH program. We suggest you use the default settings. Click next to continue.


    This creates the program menu item. We suggest you use the default settings. Click next to continue.


    This selects components to install. We suggest you install everything. Click next to continue.


    This shows you which components you selected. Just press next.


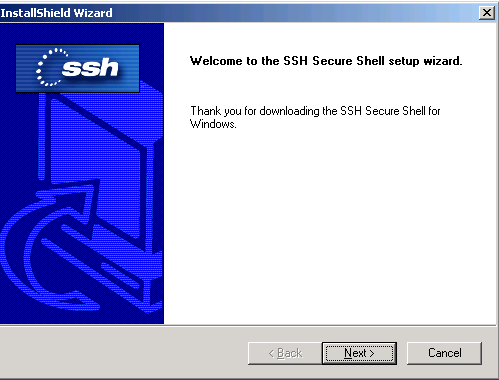
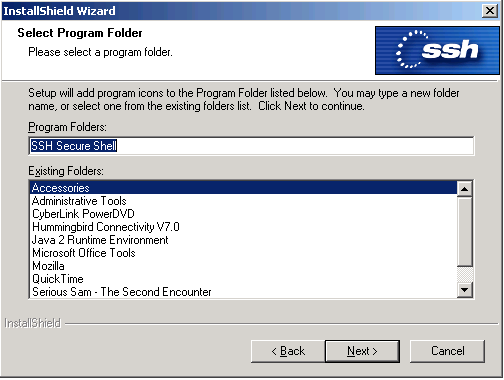
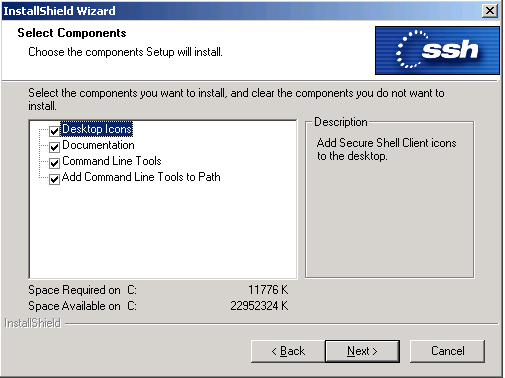
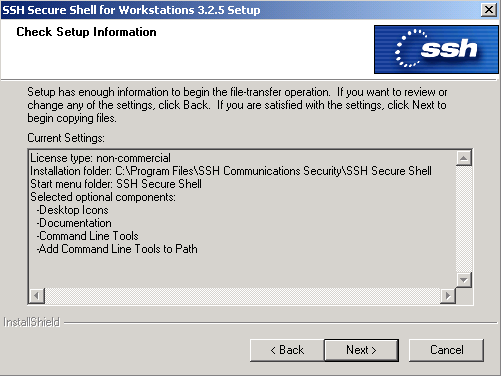
    The computer will then start the installation process. The status bar will move indicating percentage of completion.


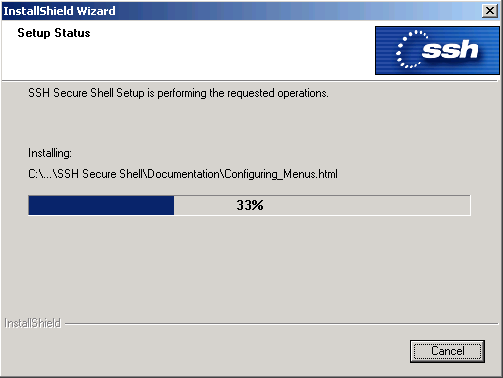
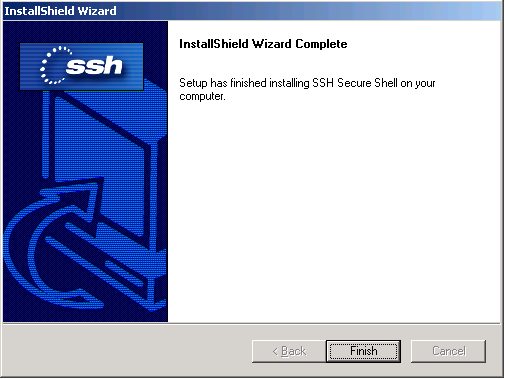
    Click finish to finish the installation process.
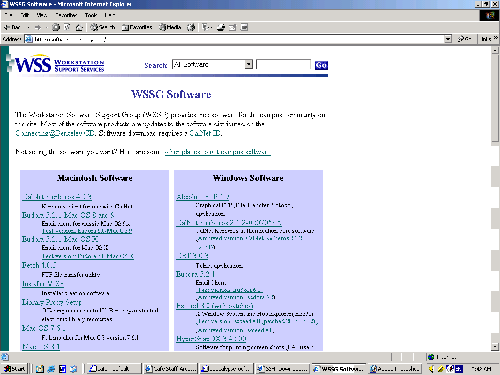

    Step 3: Using SSH

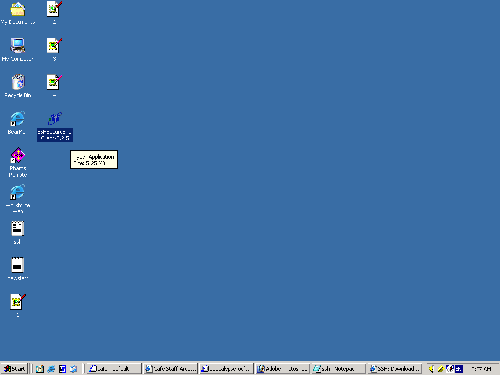
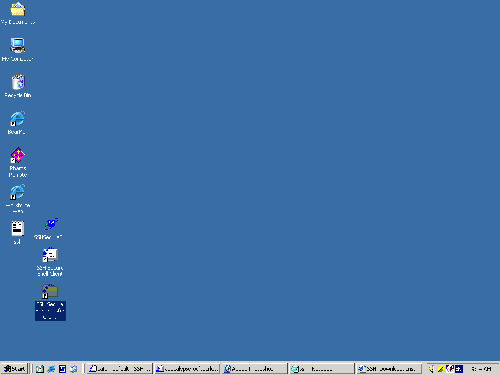
    There are two shortcuts on your desktop.
    SSH Secure Shell Client
    SSH Secure Shell File Tranfer Client

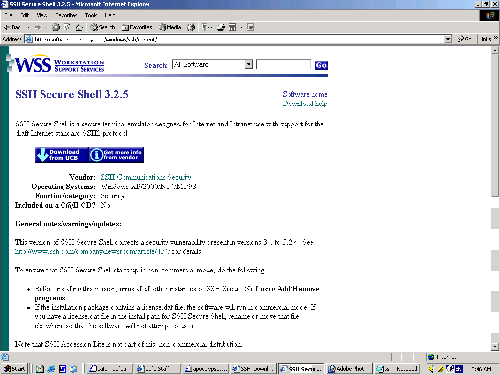
    Click on the latter to upload files to your webspace:
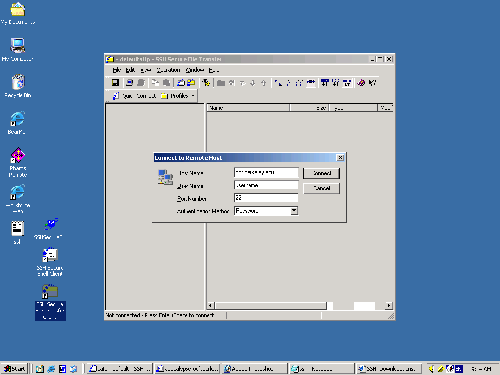
    SSH Secure Shell File Transfer Client


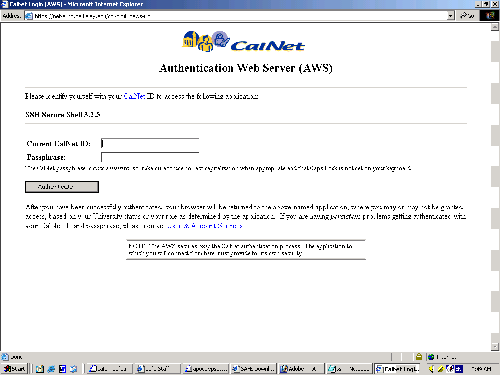
    In the dialog box you can enter your connection information:
    Host Name:		ocf.berkeley.edu
    User Name:  		(your user name)
    Port Number: 	22
    Auth... Method:  	(choose password)
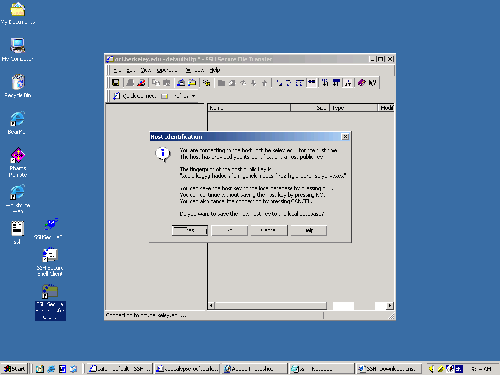


    Click Yes


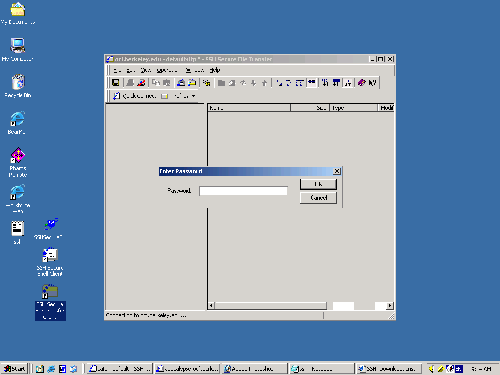
    Enter your password. Rmemebering that passwords are case sensative.


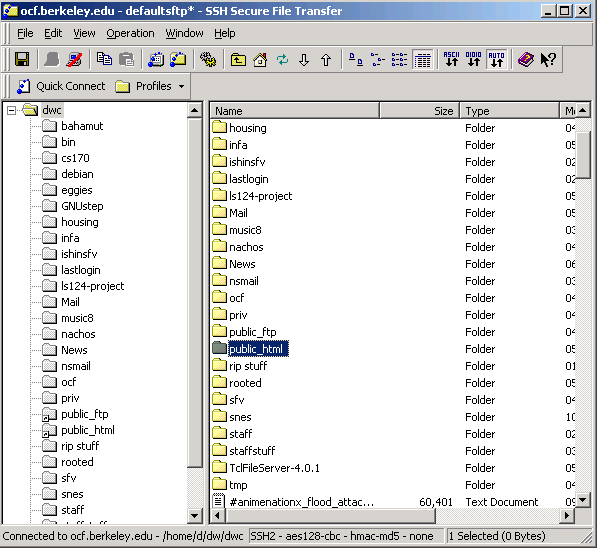
    You can now upload files to your public_html symlink created by the makehttp command. If you have not yet run this command. Refer to it's help page under setting up your webspace.


    You are now all set. Enjoy!