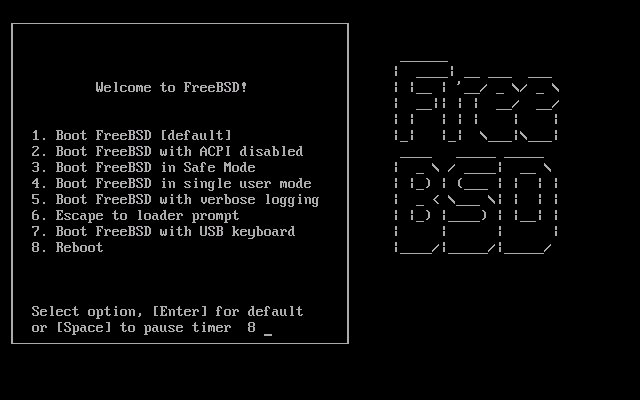
After booting from the Install CD, you will be greeted with the not so lovely FreeBSD boot screen (later on we'll add the FreeBSD mascot back in). Press 'Enter' to continue with default options. (If you do nothing for 10 seconds, this will happen automatically).
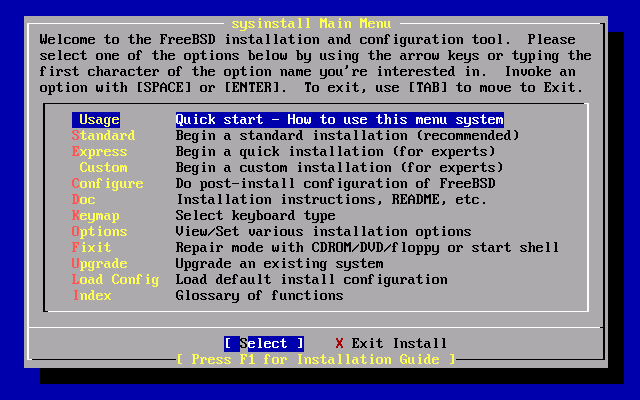
This is the FreeBSD installer. Read the keyboard instructions at the top of the menu, as they teach you how to move around the installer. Choose "Custom" for this installation.
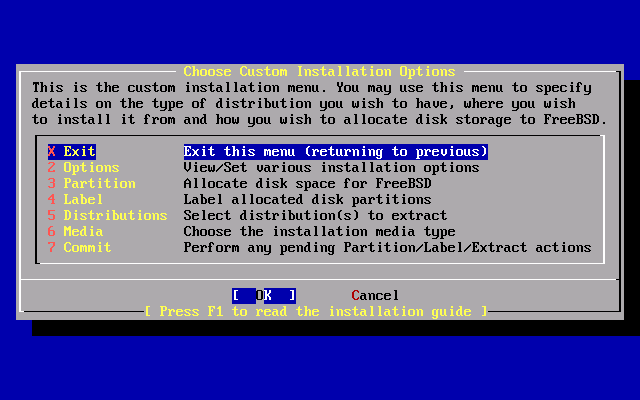
This is the next screen you'll be confronted with. Select "Options" to continue.
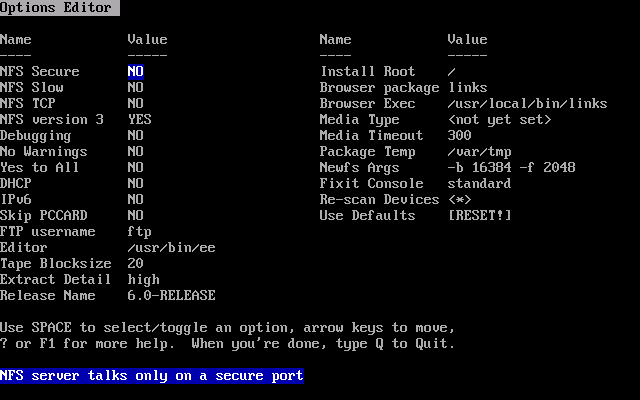
There is a lot of information here, but you needn't be worried about most of it. The only thing you'll want to do is set DHCP to YES. Unless you specifically set a static ip address for your machine, you'll need to use DHCP (if you're not sure choose DHCP, we can change it later). Note the navigation instructions at the bottom. After toggling DHCP on type 'Q'.
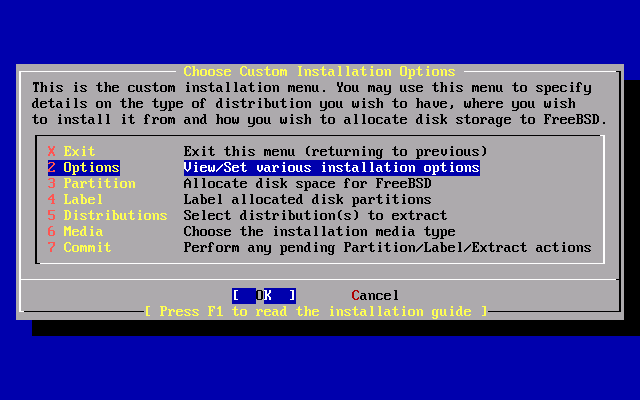
Now select "Partition" to continue.
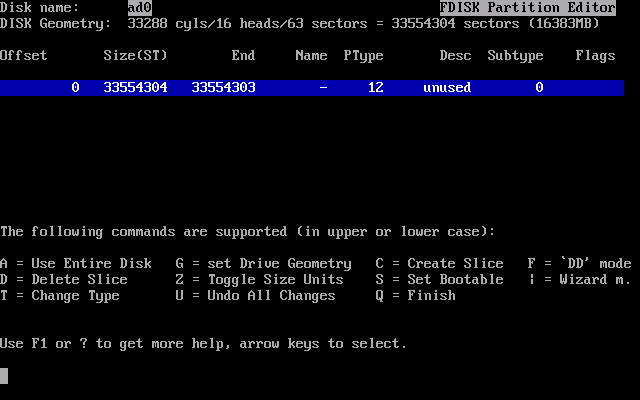
Welcome to fdisk. This is a partition editor. You should see your hard drive partitions (if any) displayed on this screen. Press 'D' to delete the highlighted partition, and 'C' while an "unused" partition is selected to create a new partition. If you only want to run FreeBSD on your computer, go ahead and delete any existing partitions and create a new partition. If you want to keep your Linux or Windows partition, don't delete it!

When you press 'C' to create a new partition, this screen will pop up asking you how big you want your FreeBSD partition to be. If you want to use all of the free space, simply press 'Enter.' The maximum available size will be entered by default. If you want to make a smaller partition for FreeBSD, change the number to the size you want. (i.e. 3000M for a 3 GB partition). When you are finished, press 'Enter' to continue.
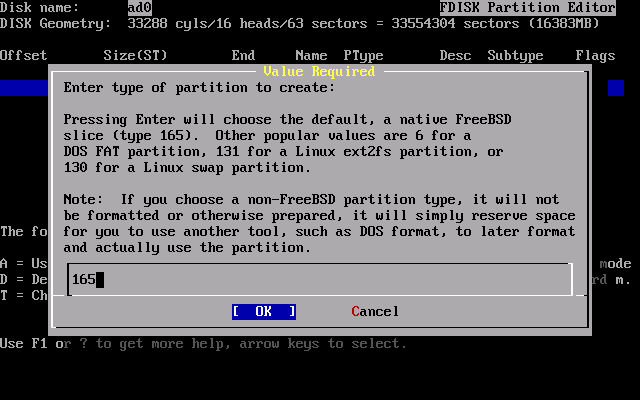
fdisk will then ask you what kind of partition you want to create. Press 'Enter' to create a FreeBSD partition. As we are installing FreeBSD, that's what we want.

You should now see your newly created FreeBSD partition listed among your other partitions. In our example, we gave the entire hard disk to FreeBSD. Make sure you give FreeBSD enough room to install. We recommend 3 GB or more. If you are finished with fdisk, press 'Q' to save your changes and go on to the next step.
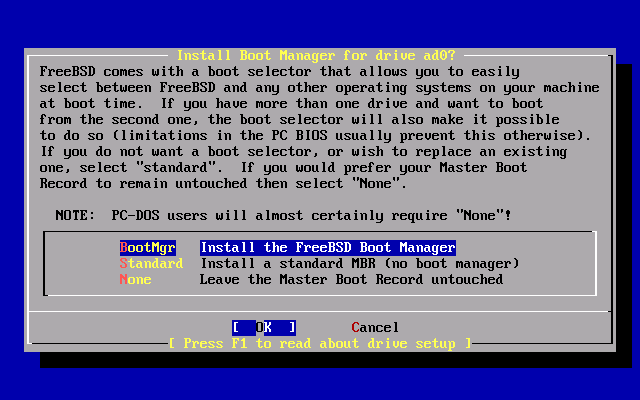
FreeBSD next asks you if you want to install a boot loader. If you're setting up a multi-boot system (i.e. one with more than one Operating System on it) you will probably want to choose "BootMgr." This will install the FreeBSD boot loader. If you already have another boot loader like GRUB, you should choose "None." Finally, if like us, FreeBSD will be the only system on your computer, choose "Standard".