Notes for CS170 Exam Scanning
Notes for CS170 Exam Scanning
We should ask in the pre-semester TA survey if anyone wants to be the Scanmaster, just like content TA or cheating head —— Tianchen
Step 1: Preparation
Go to Soda Copy Room, and wait for exams.
Ask for 2 copy cards, and insert them into these black boxes.

Step 2a: Cutting the Exams
Exams can be cut while scanning. I recommend 1-3 people cutting while 2 people scanning to achieve the highest efficiency.
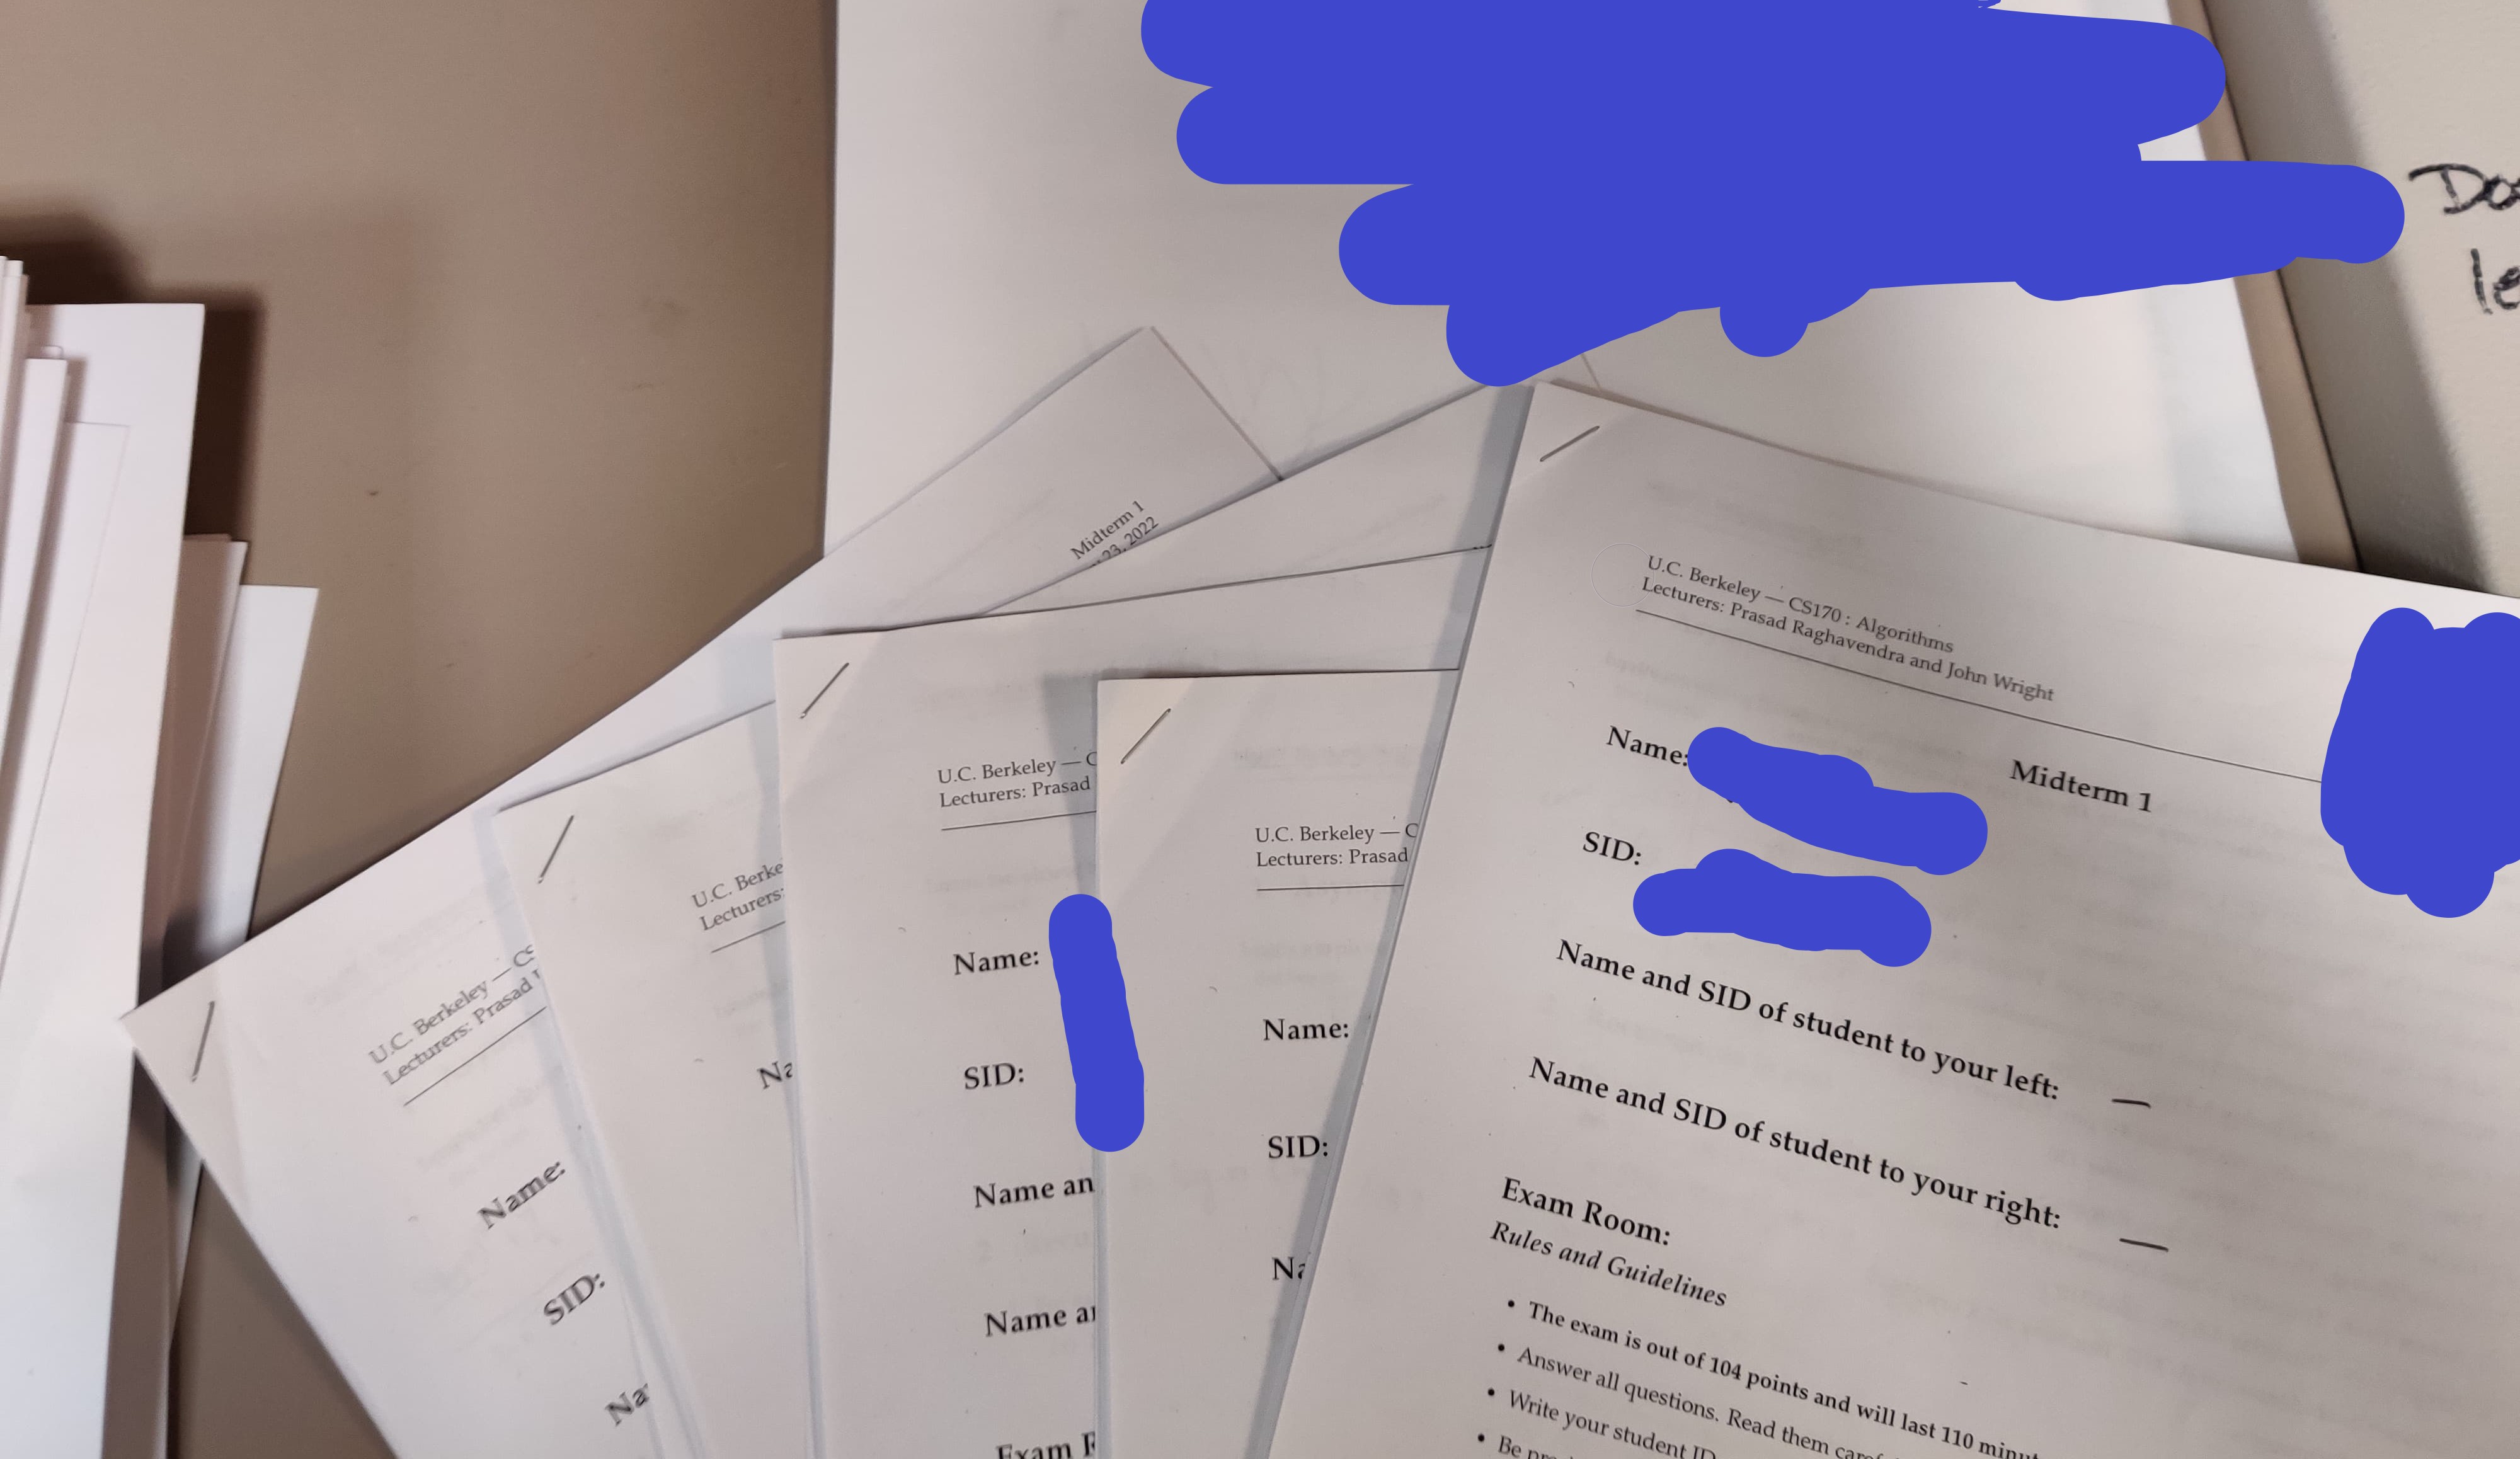
First, grab your exams. Make sure their orientations are correct (that is, staples on top-left corner); otherwise the scanners are gonna have a bad time.
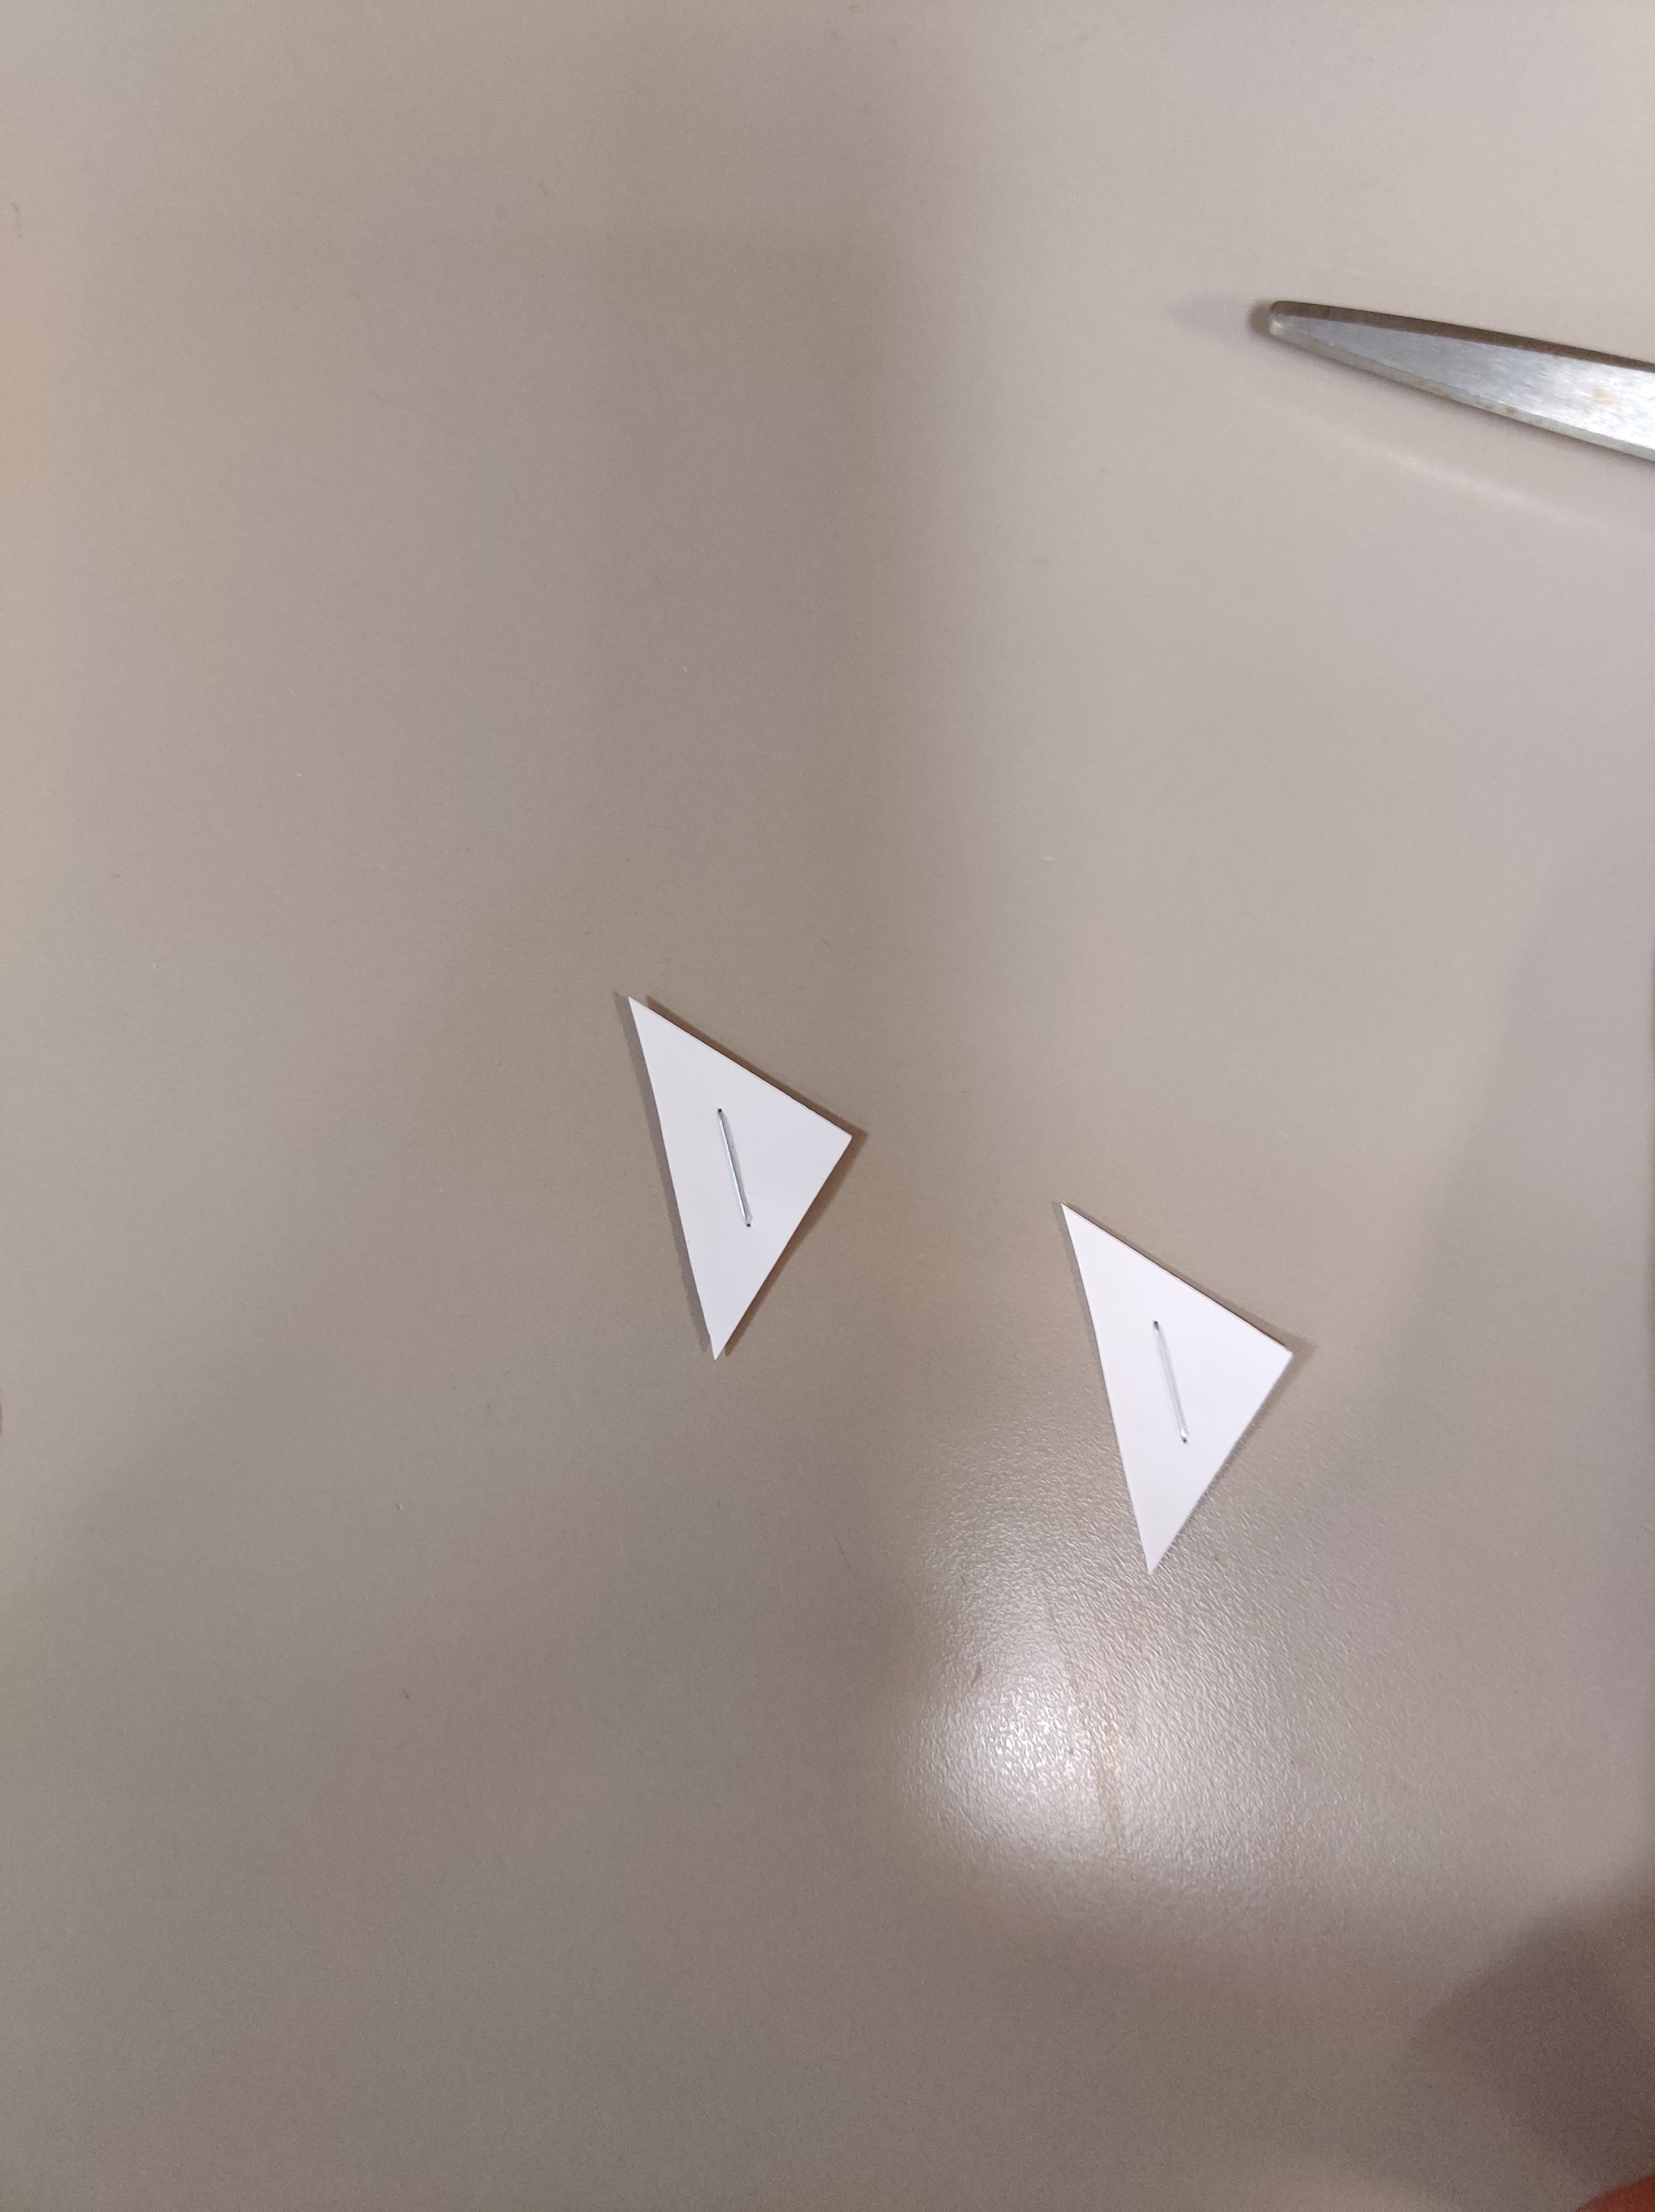
Then, cut the staples off with the biggest scissor (trust me, guillotine won’t work) as close to the staples as possible. Go through all exams to ensure all staples are cut off, as some staples are “deeper” than others.
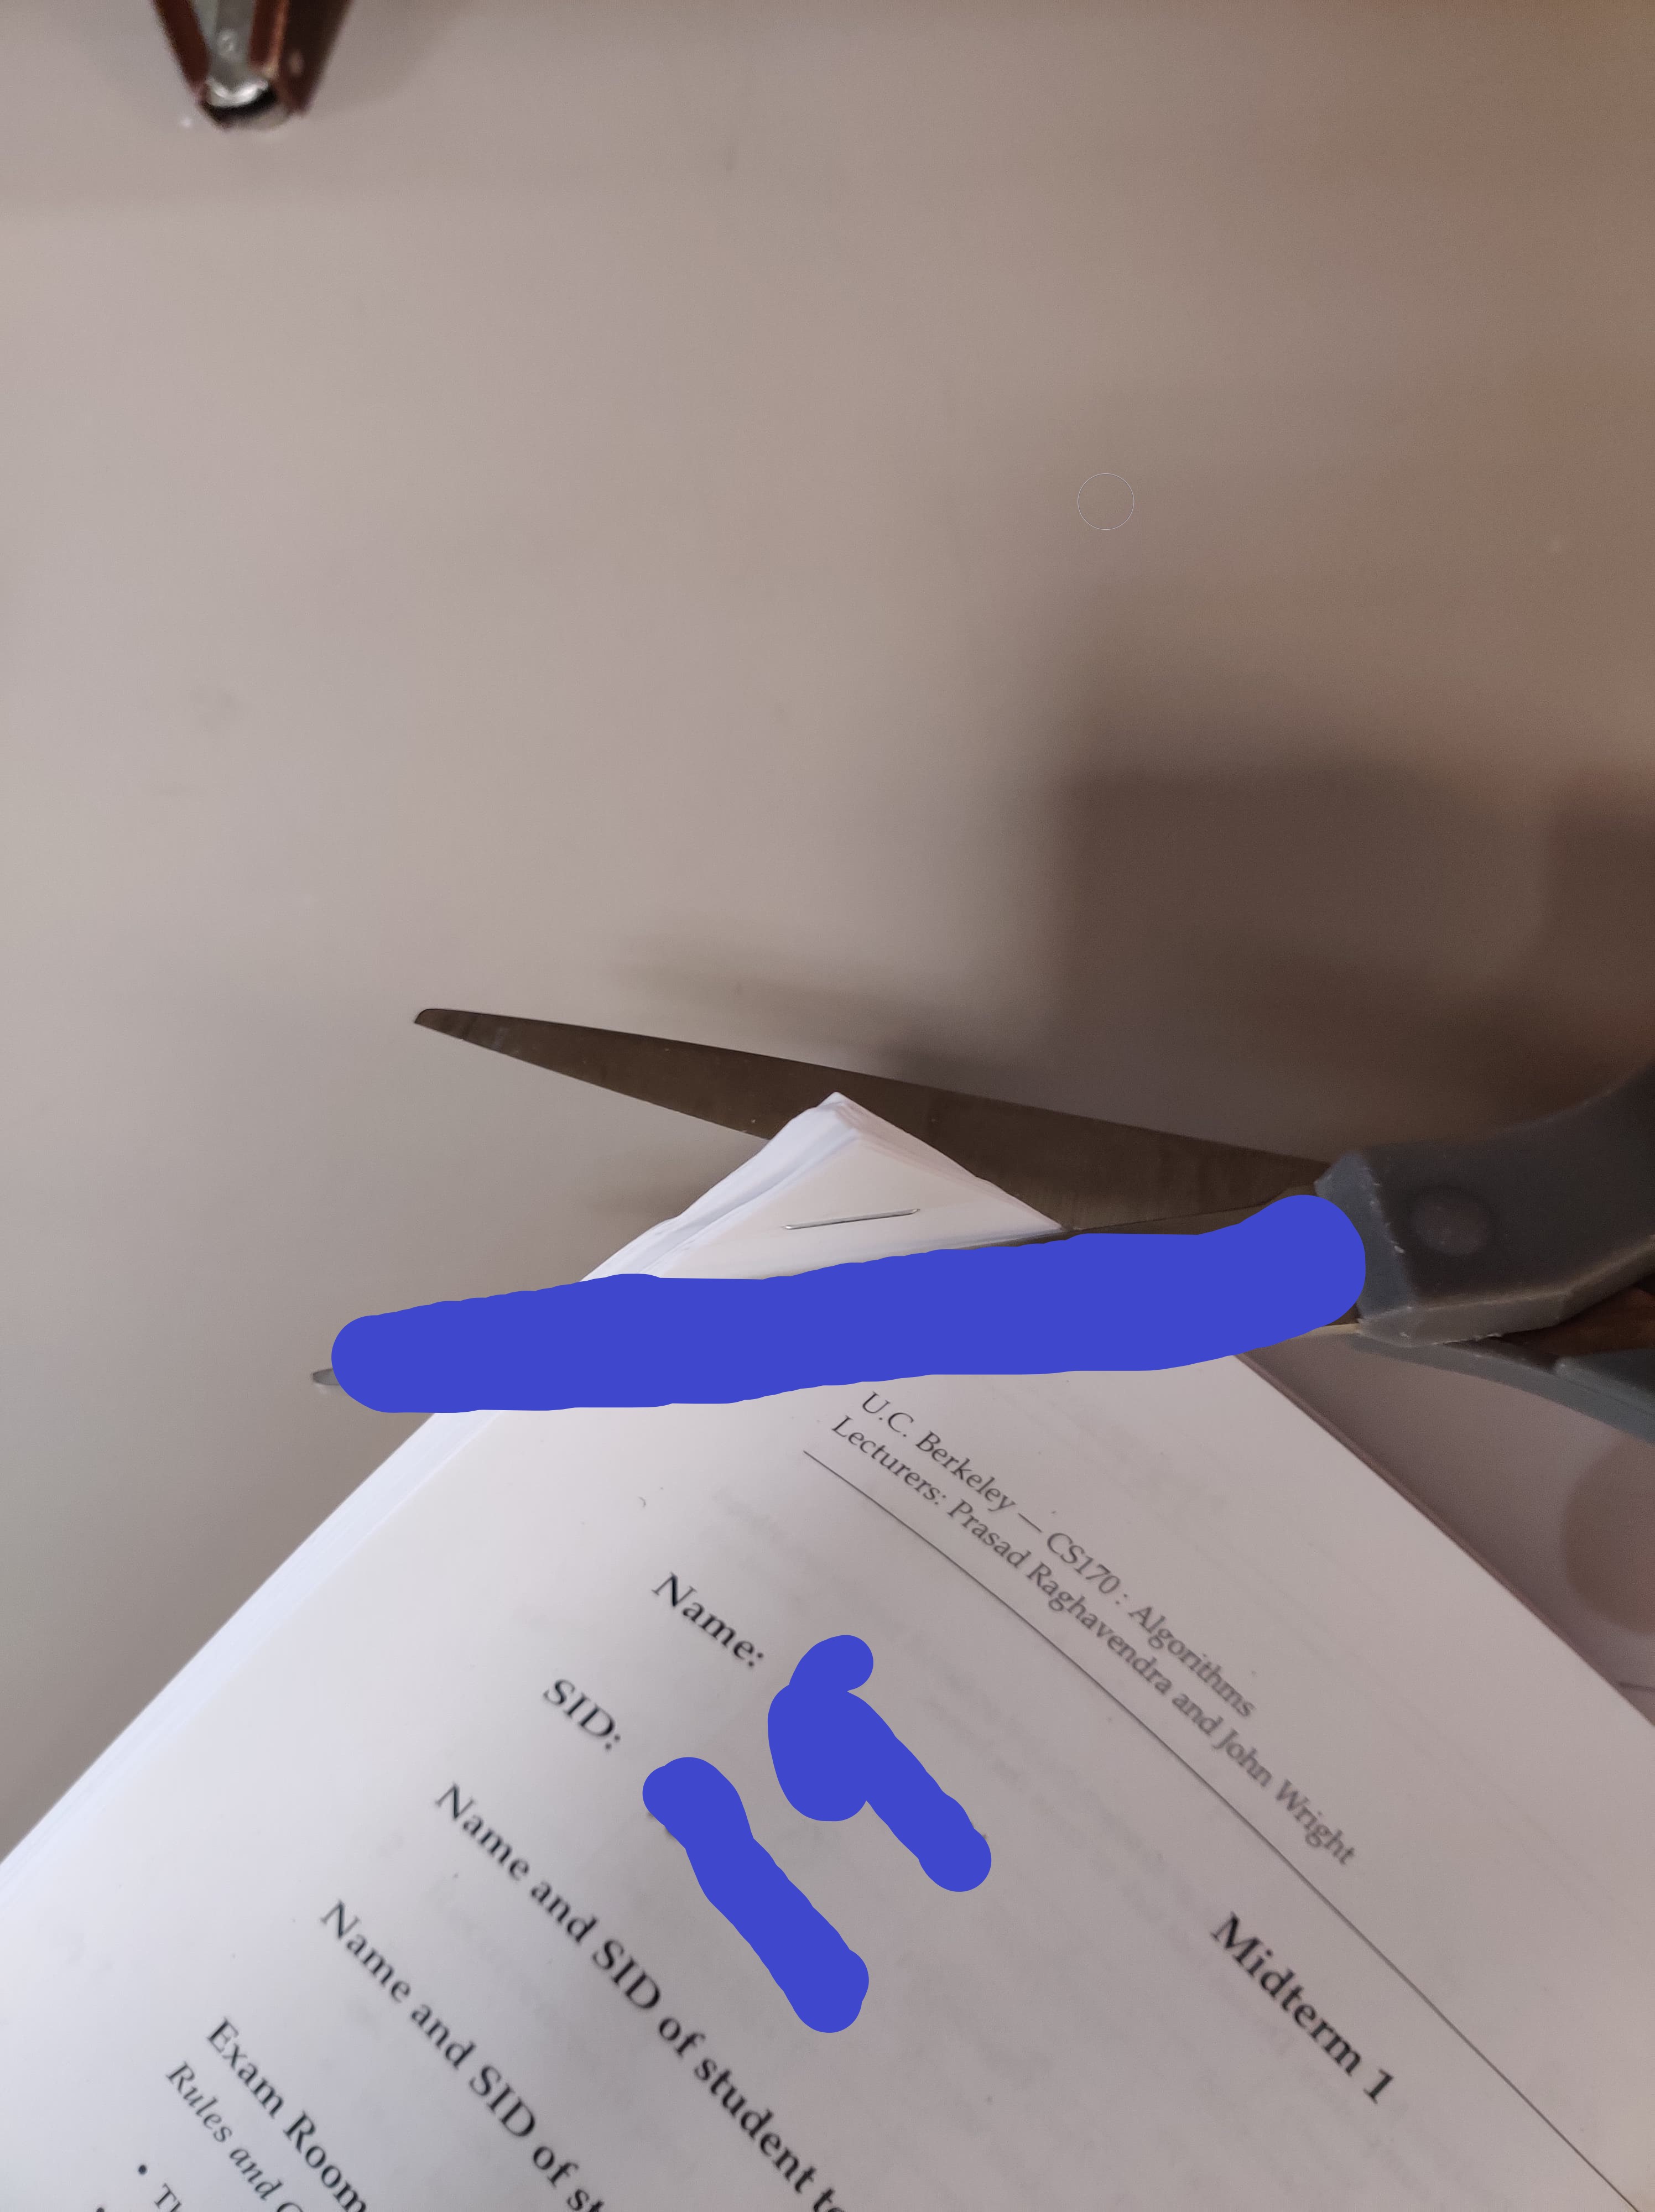
I recommend flipping through your cut to ensure all pages are properly separated.
As you cut, remember to keep the original ordering of the exam - this helps readers catch cheaters.
I recommend cutting 3 exams together, but this also depends on the pages that the exam have. Anywhere from 25~35 pages would be okay.
After you cut the exams, alternate the orientation as you stack them so that they are beautifully grouped together with 3 exams in each group.
Step 2b: Scanner
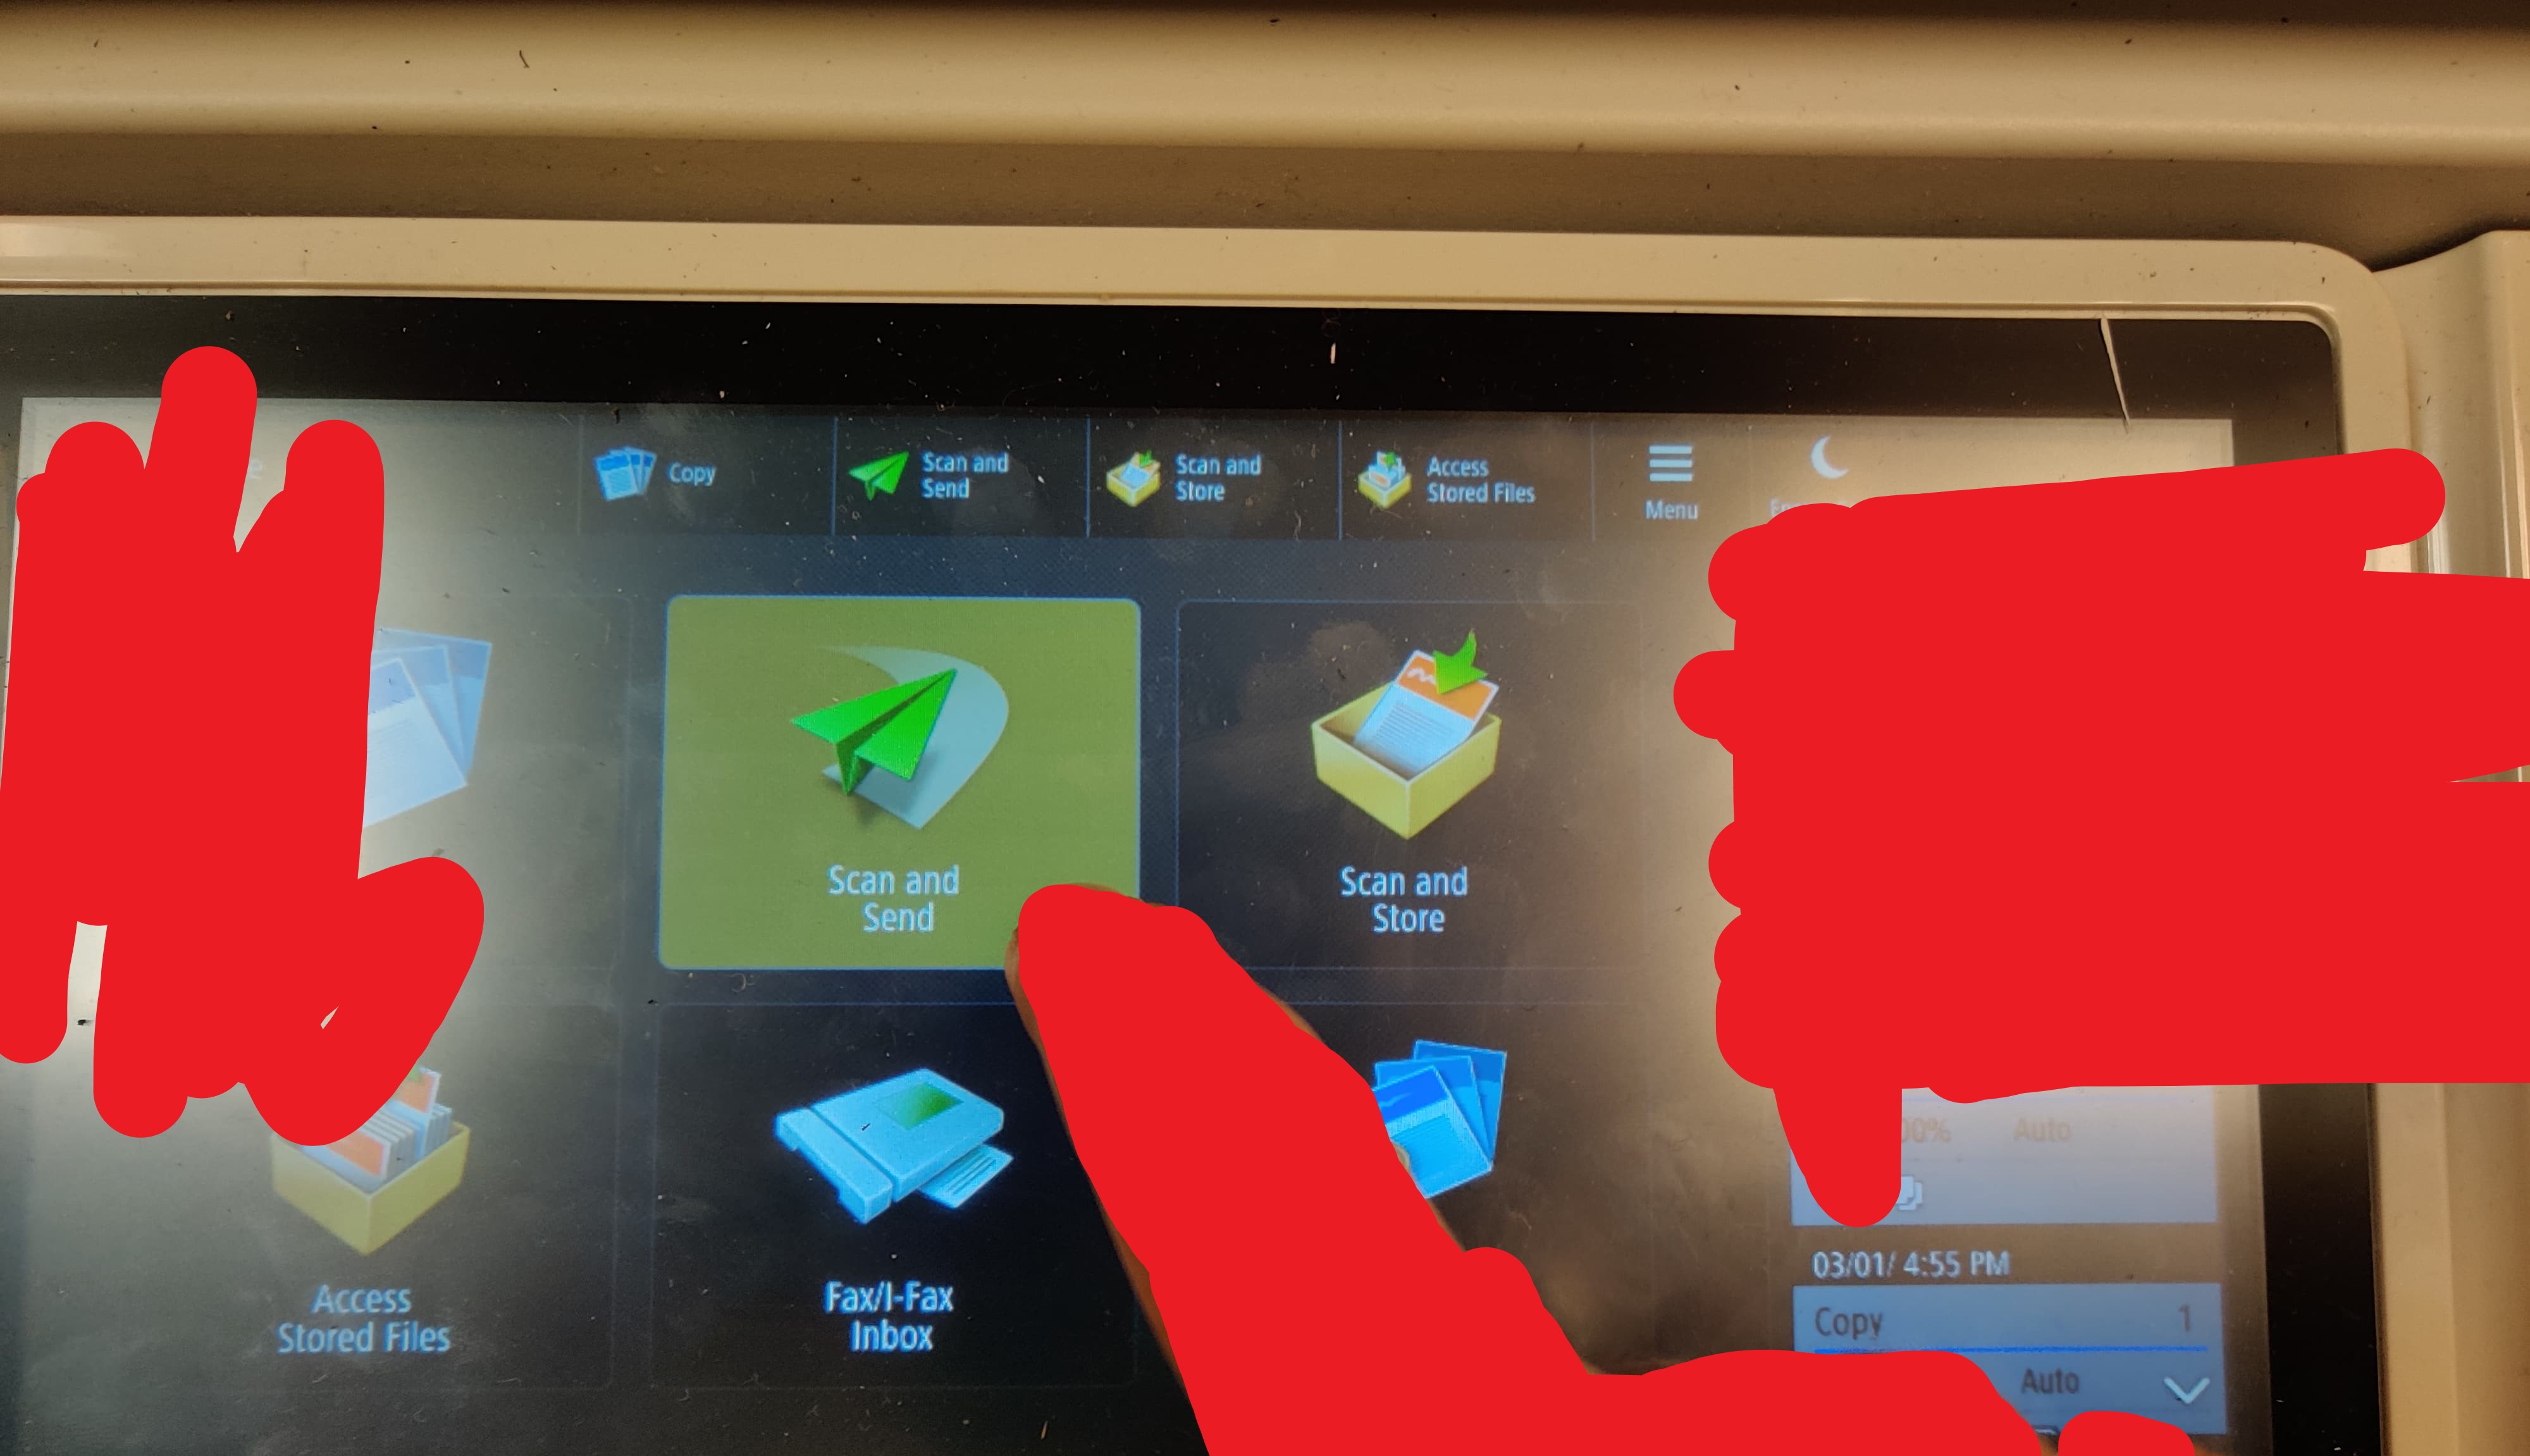
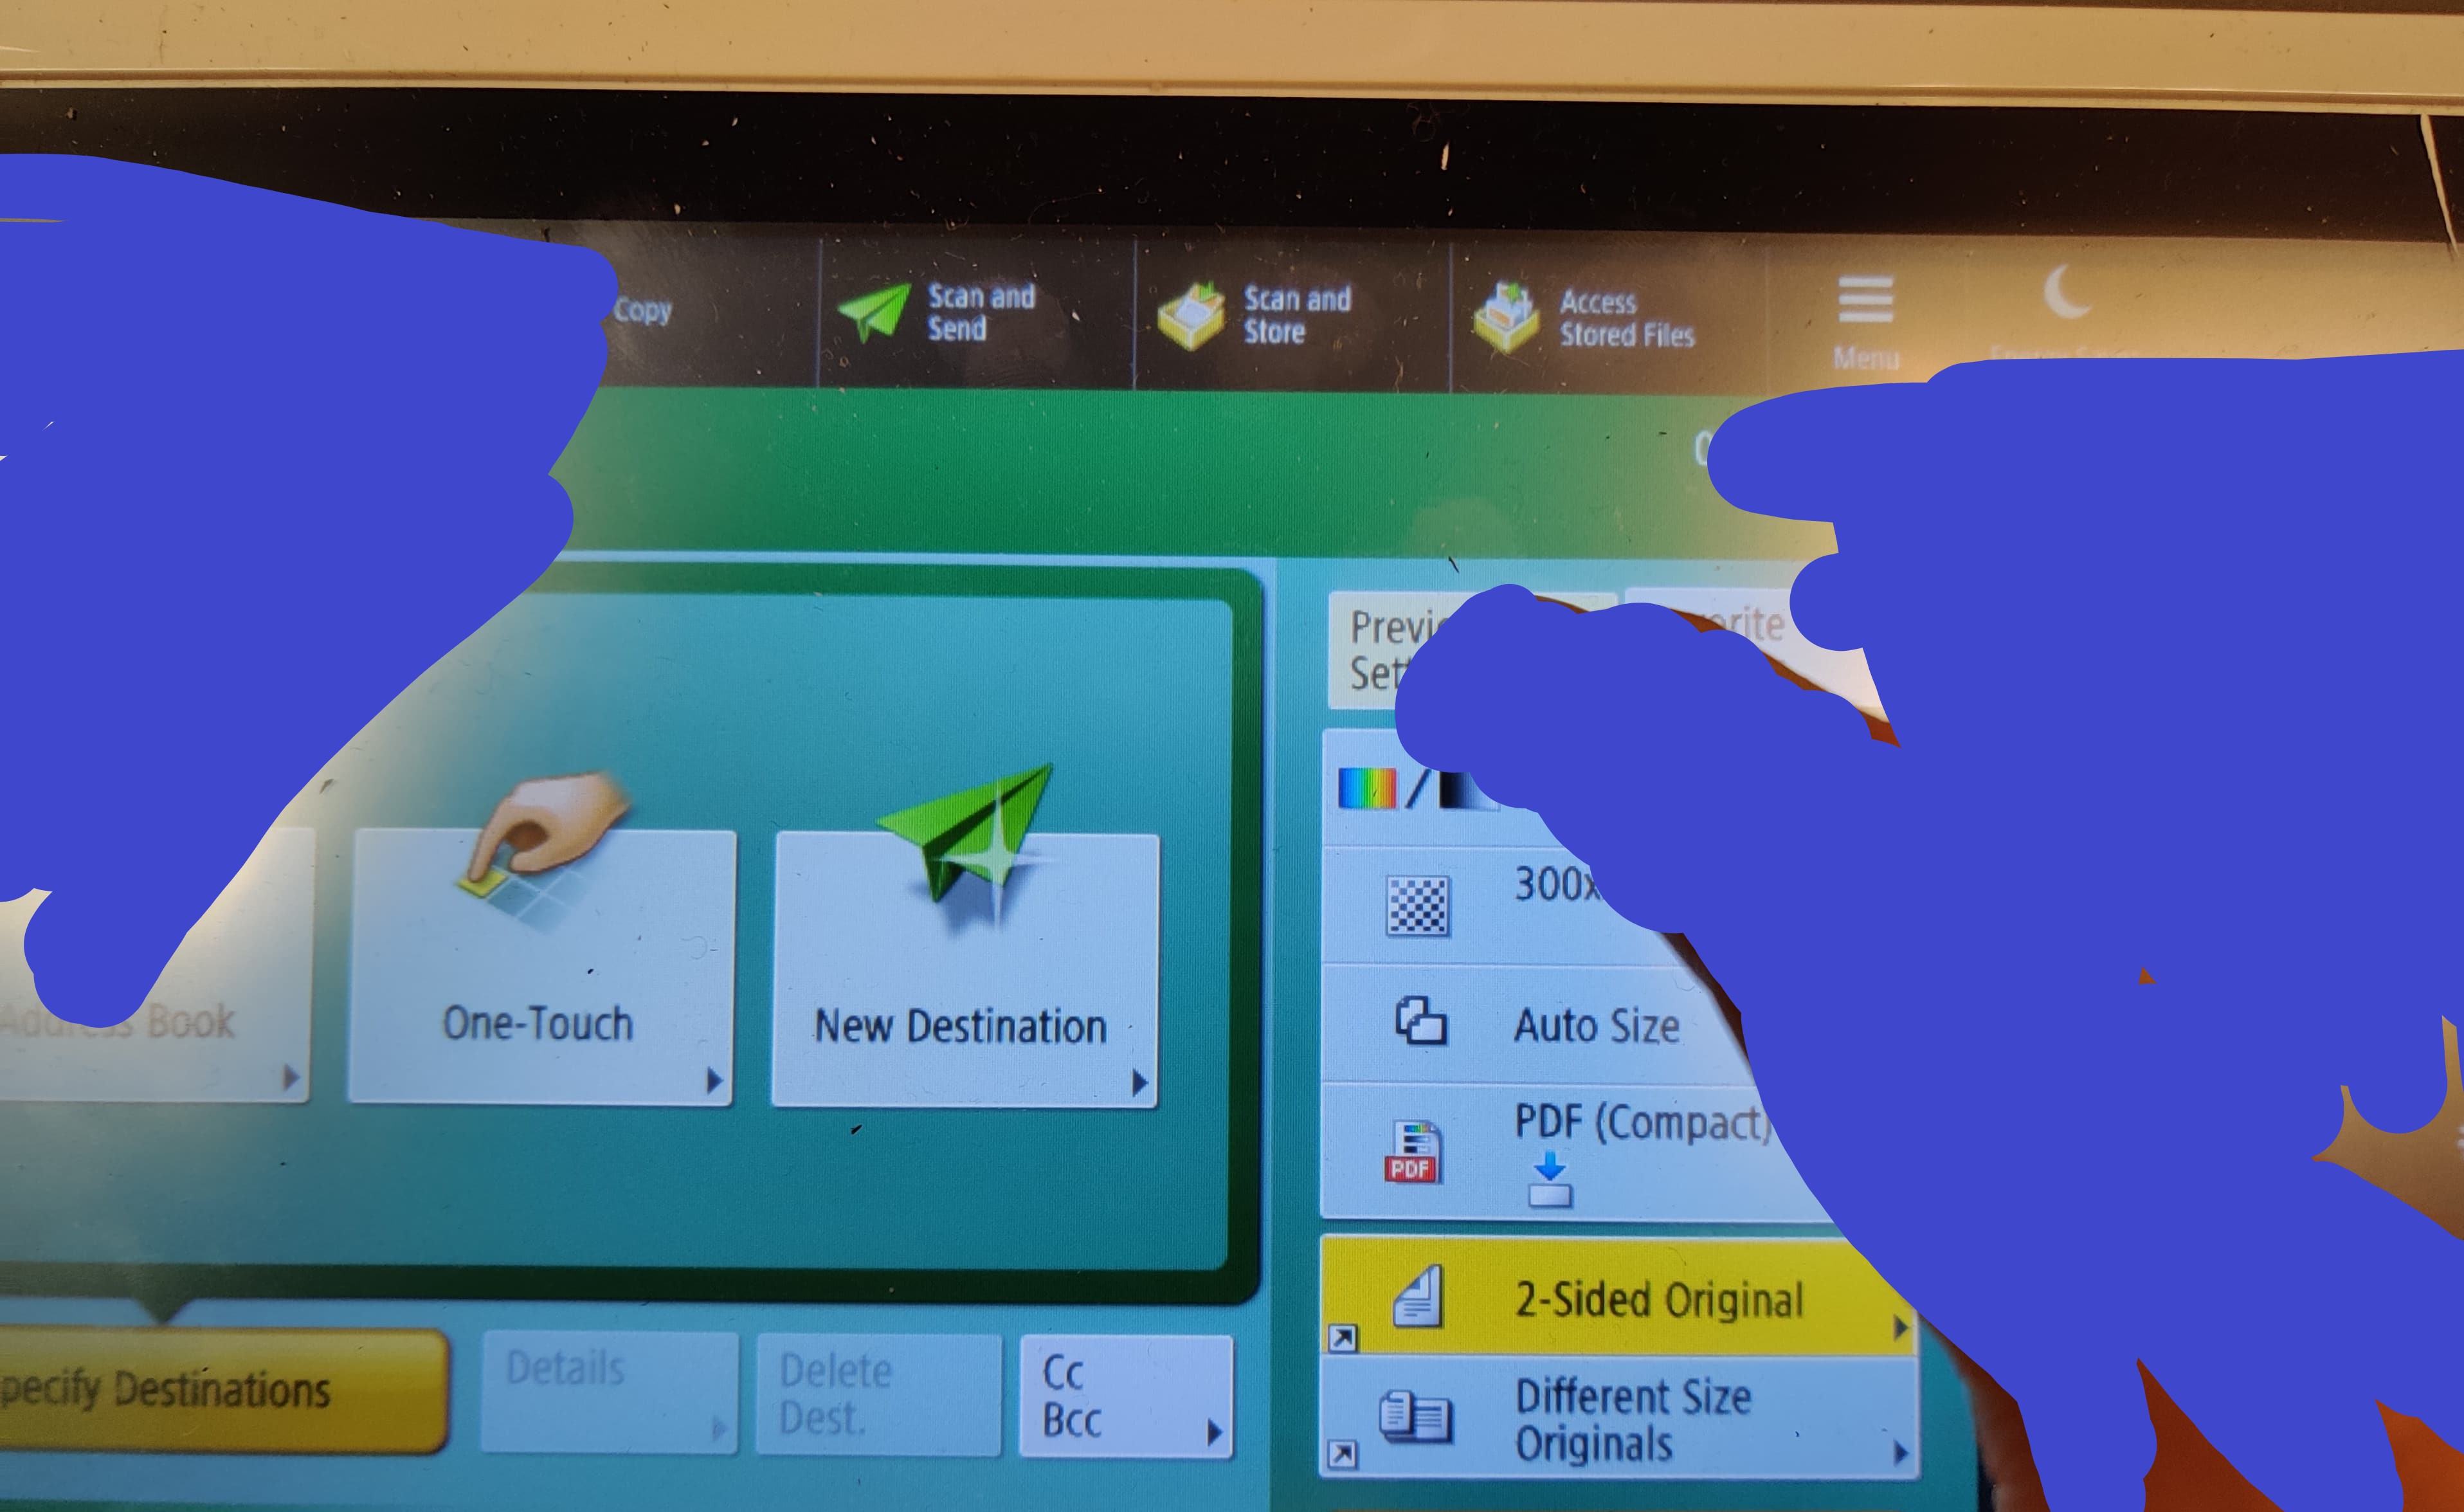
After inserting the copy card, select “Scan and Send”.
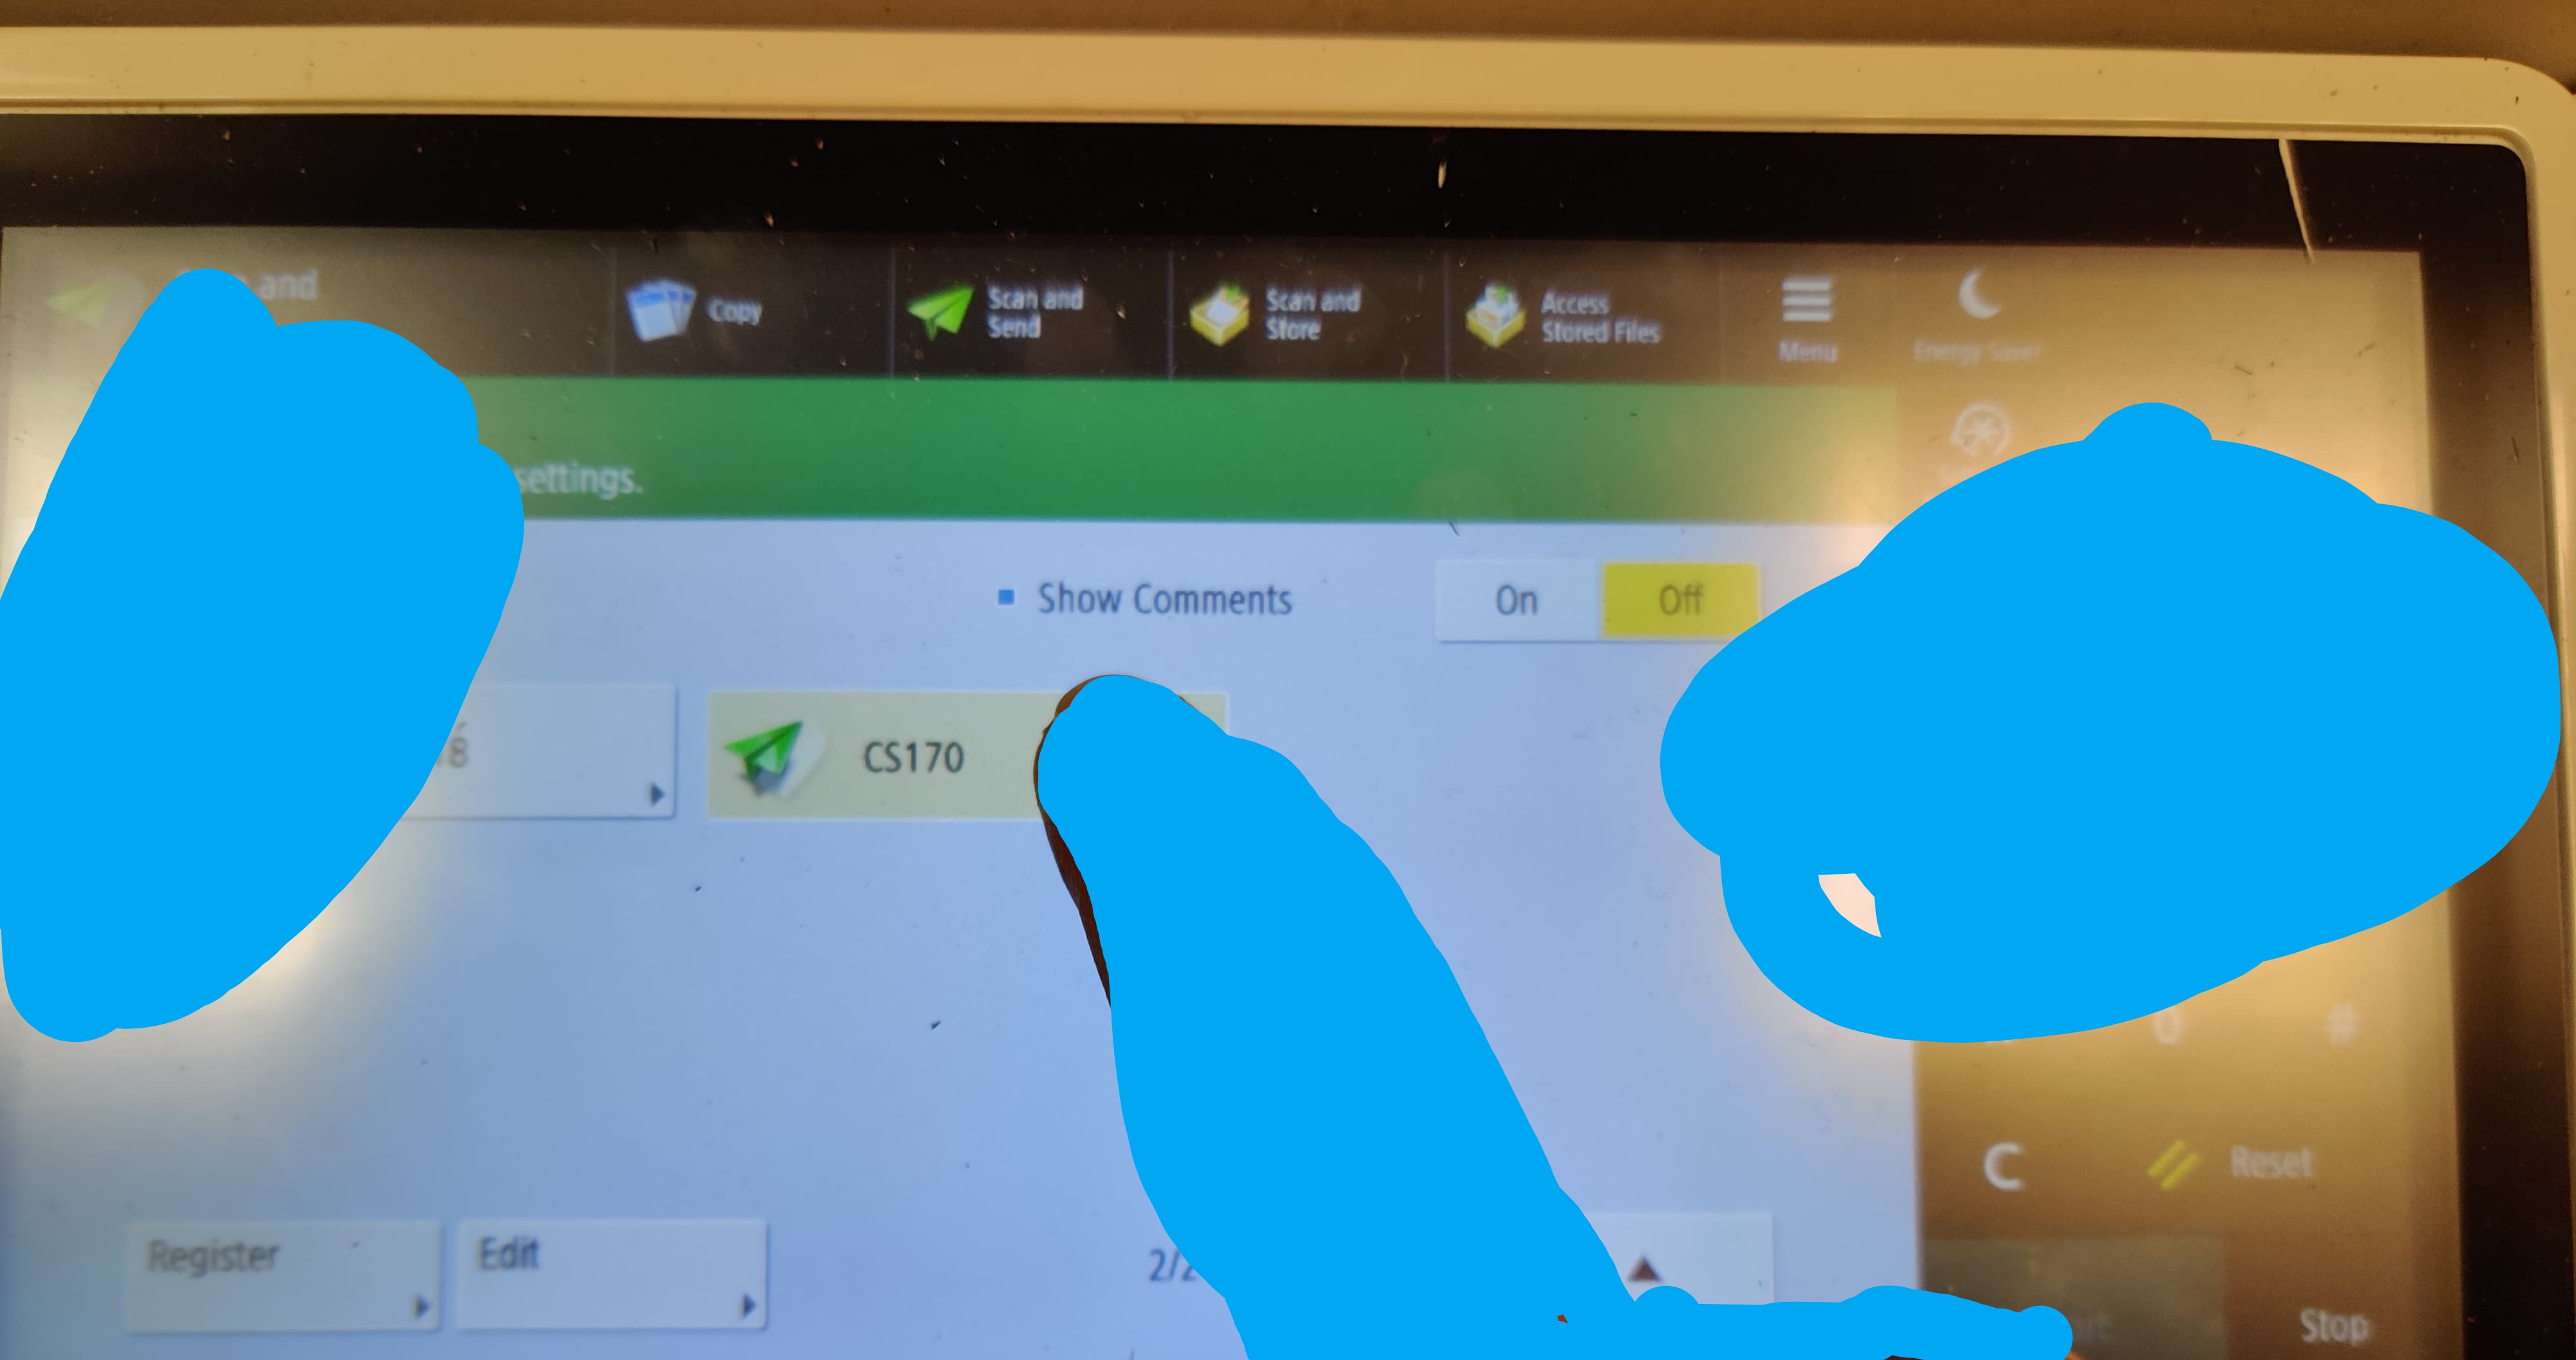
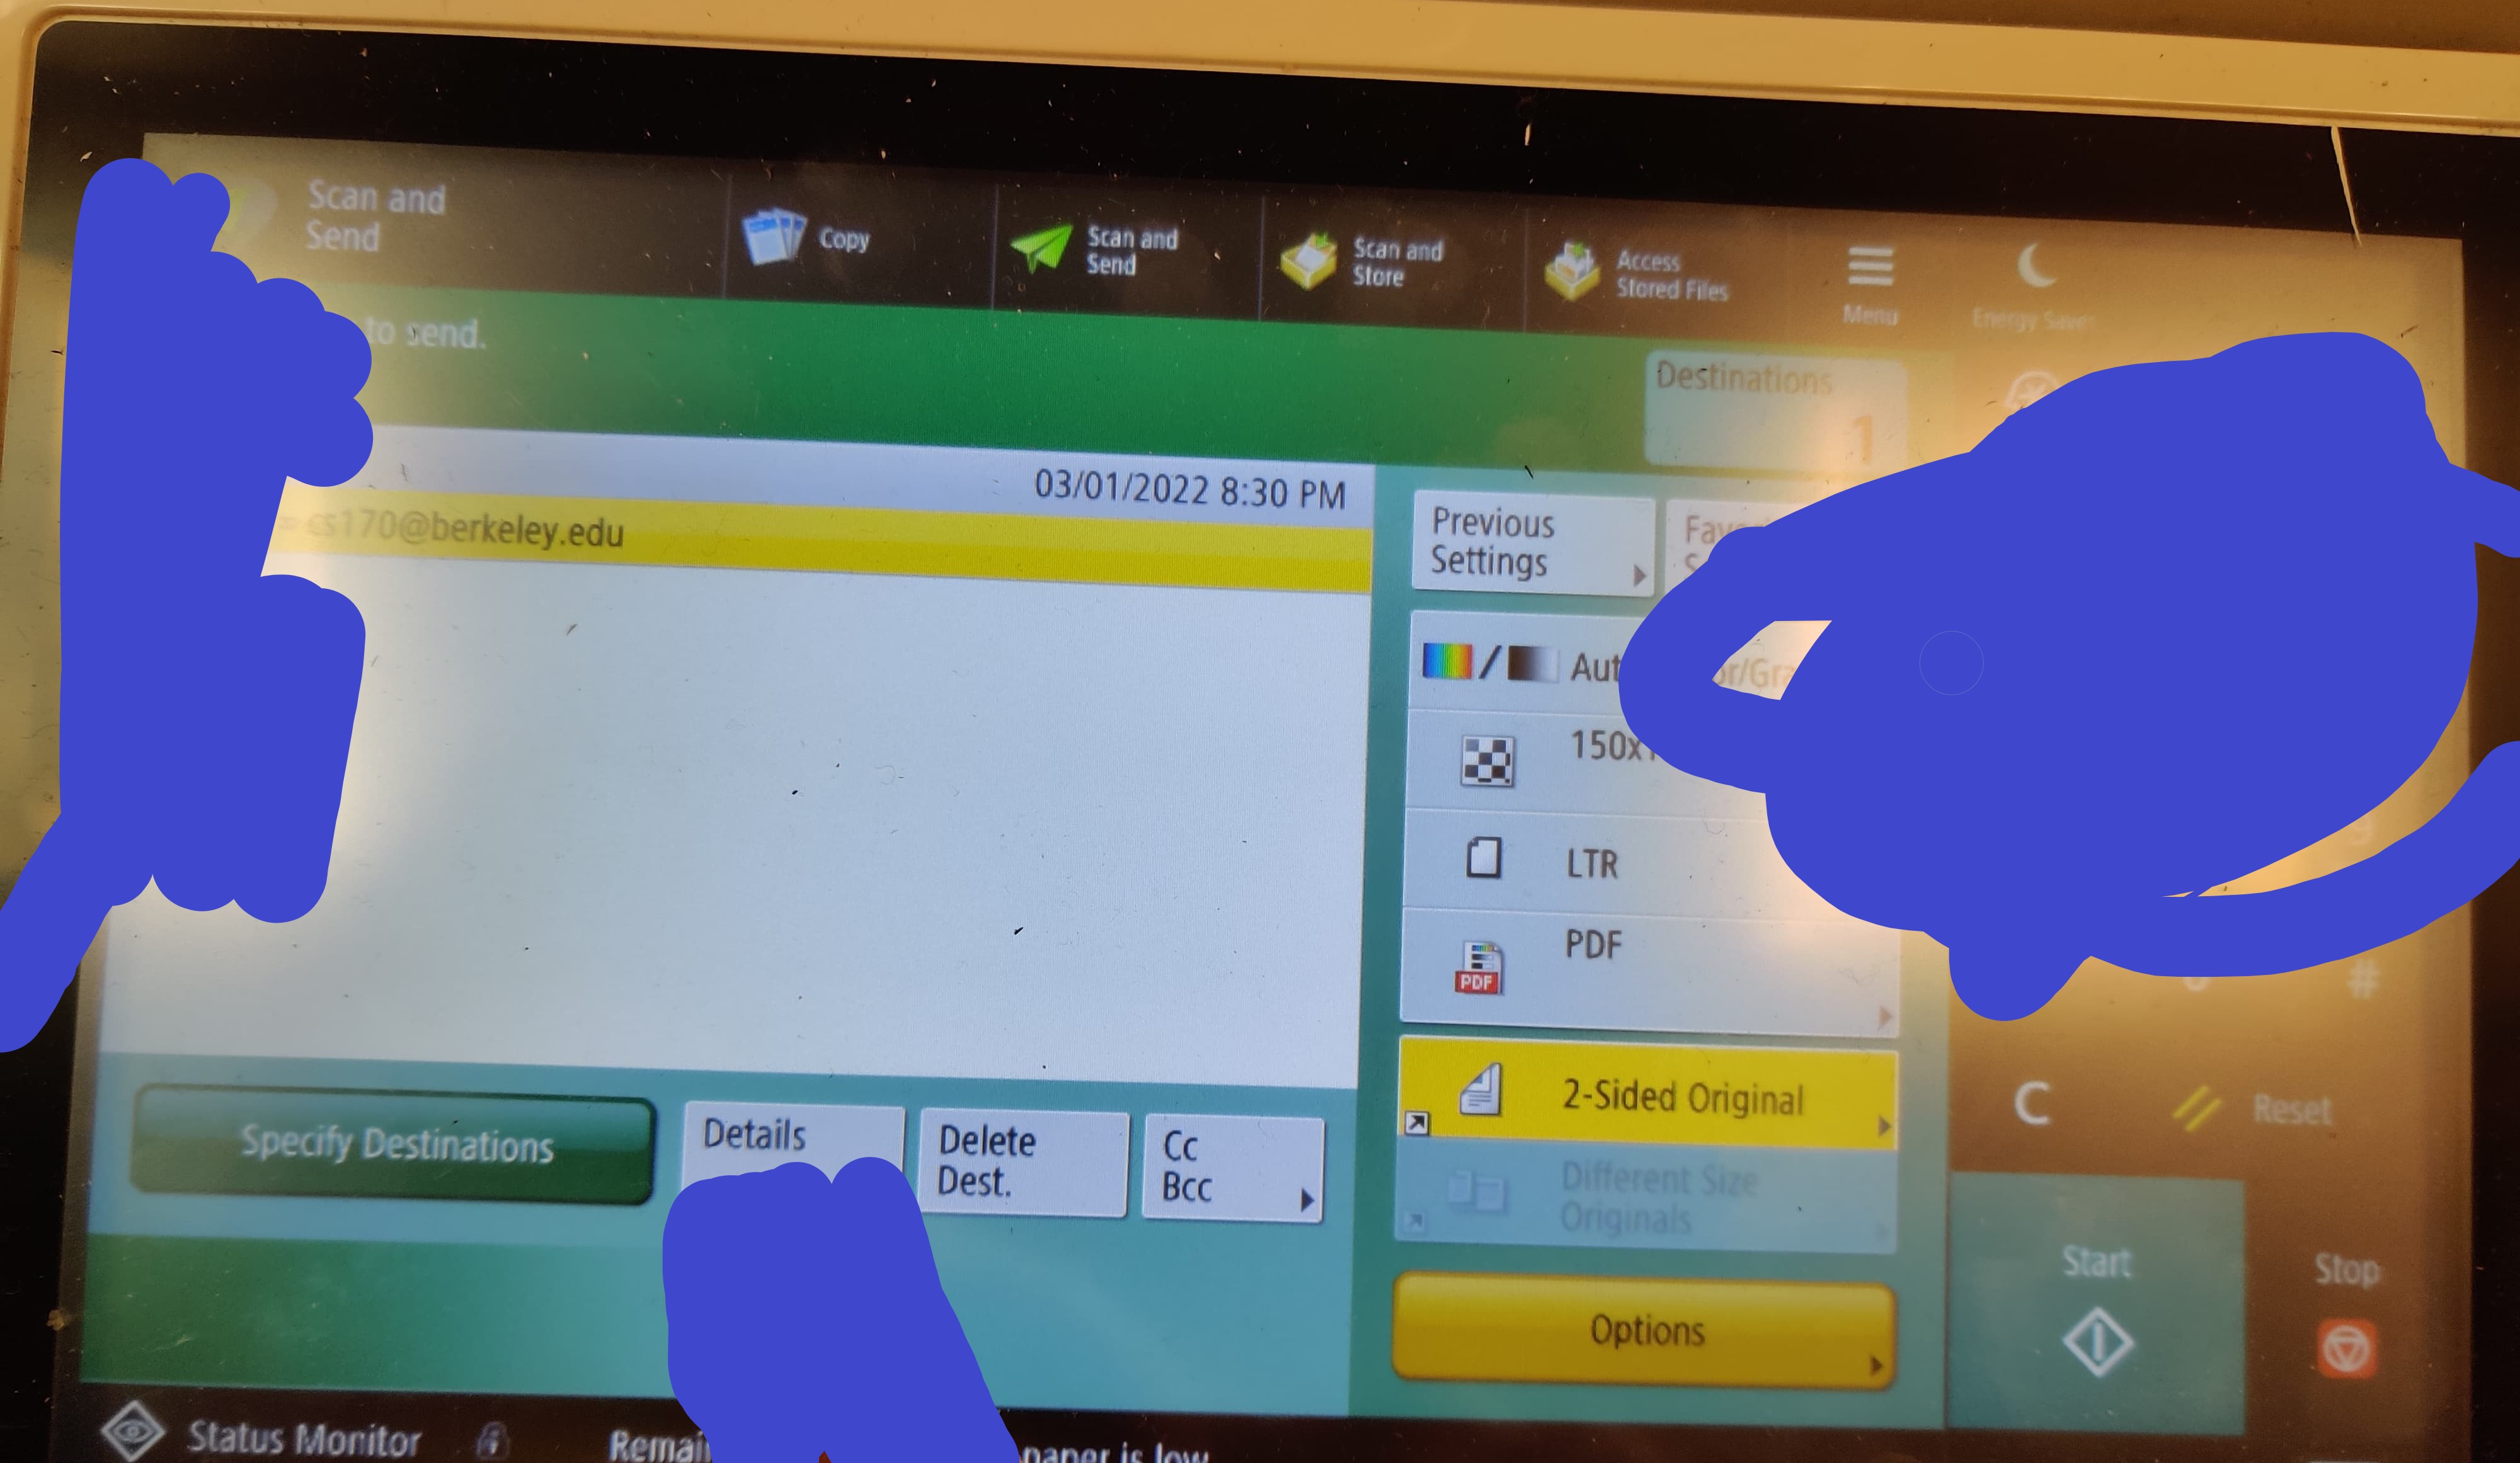
Select “Favorite Settings” on the top-right corner. Then, scroll down and choose “CS170” or something similar. Make sure that after you confirm your choice, the destination is cs170@berkeley.edu.
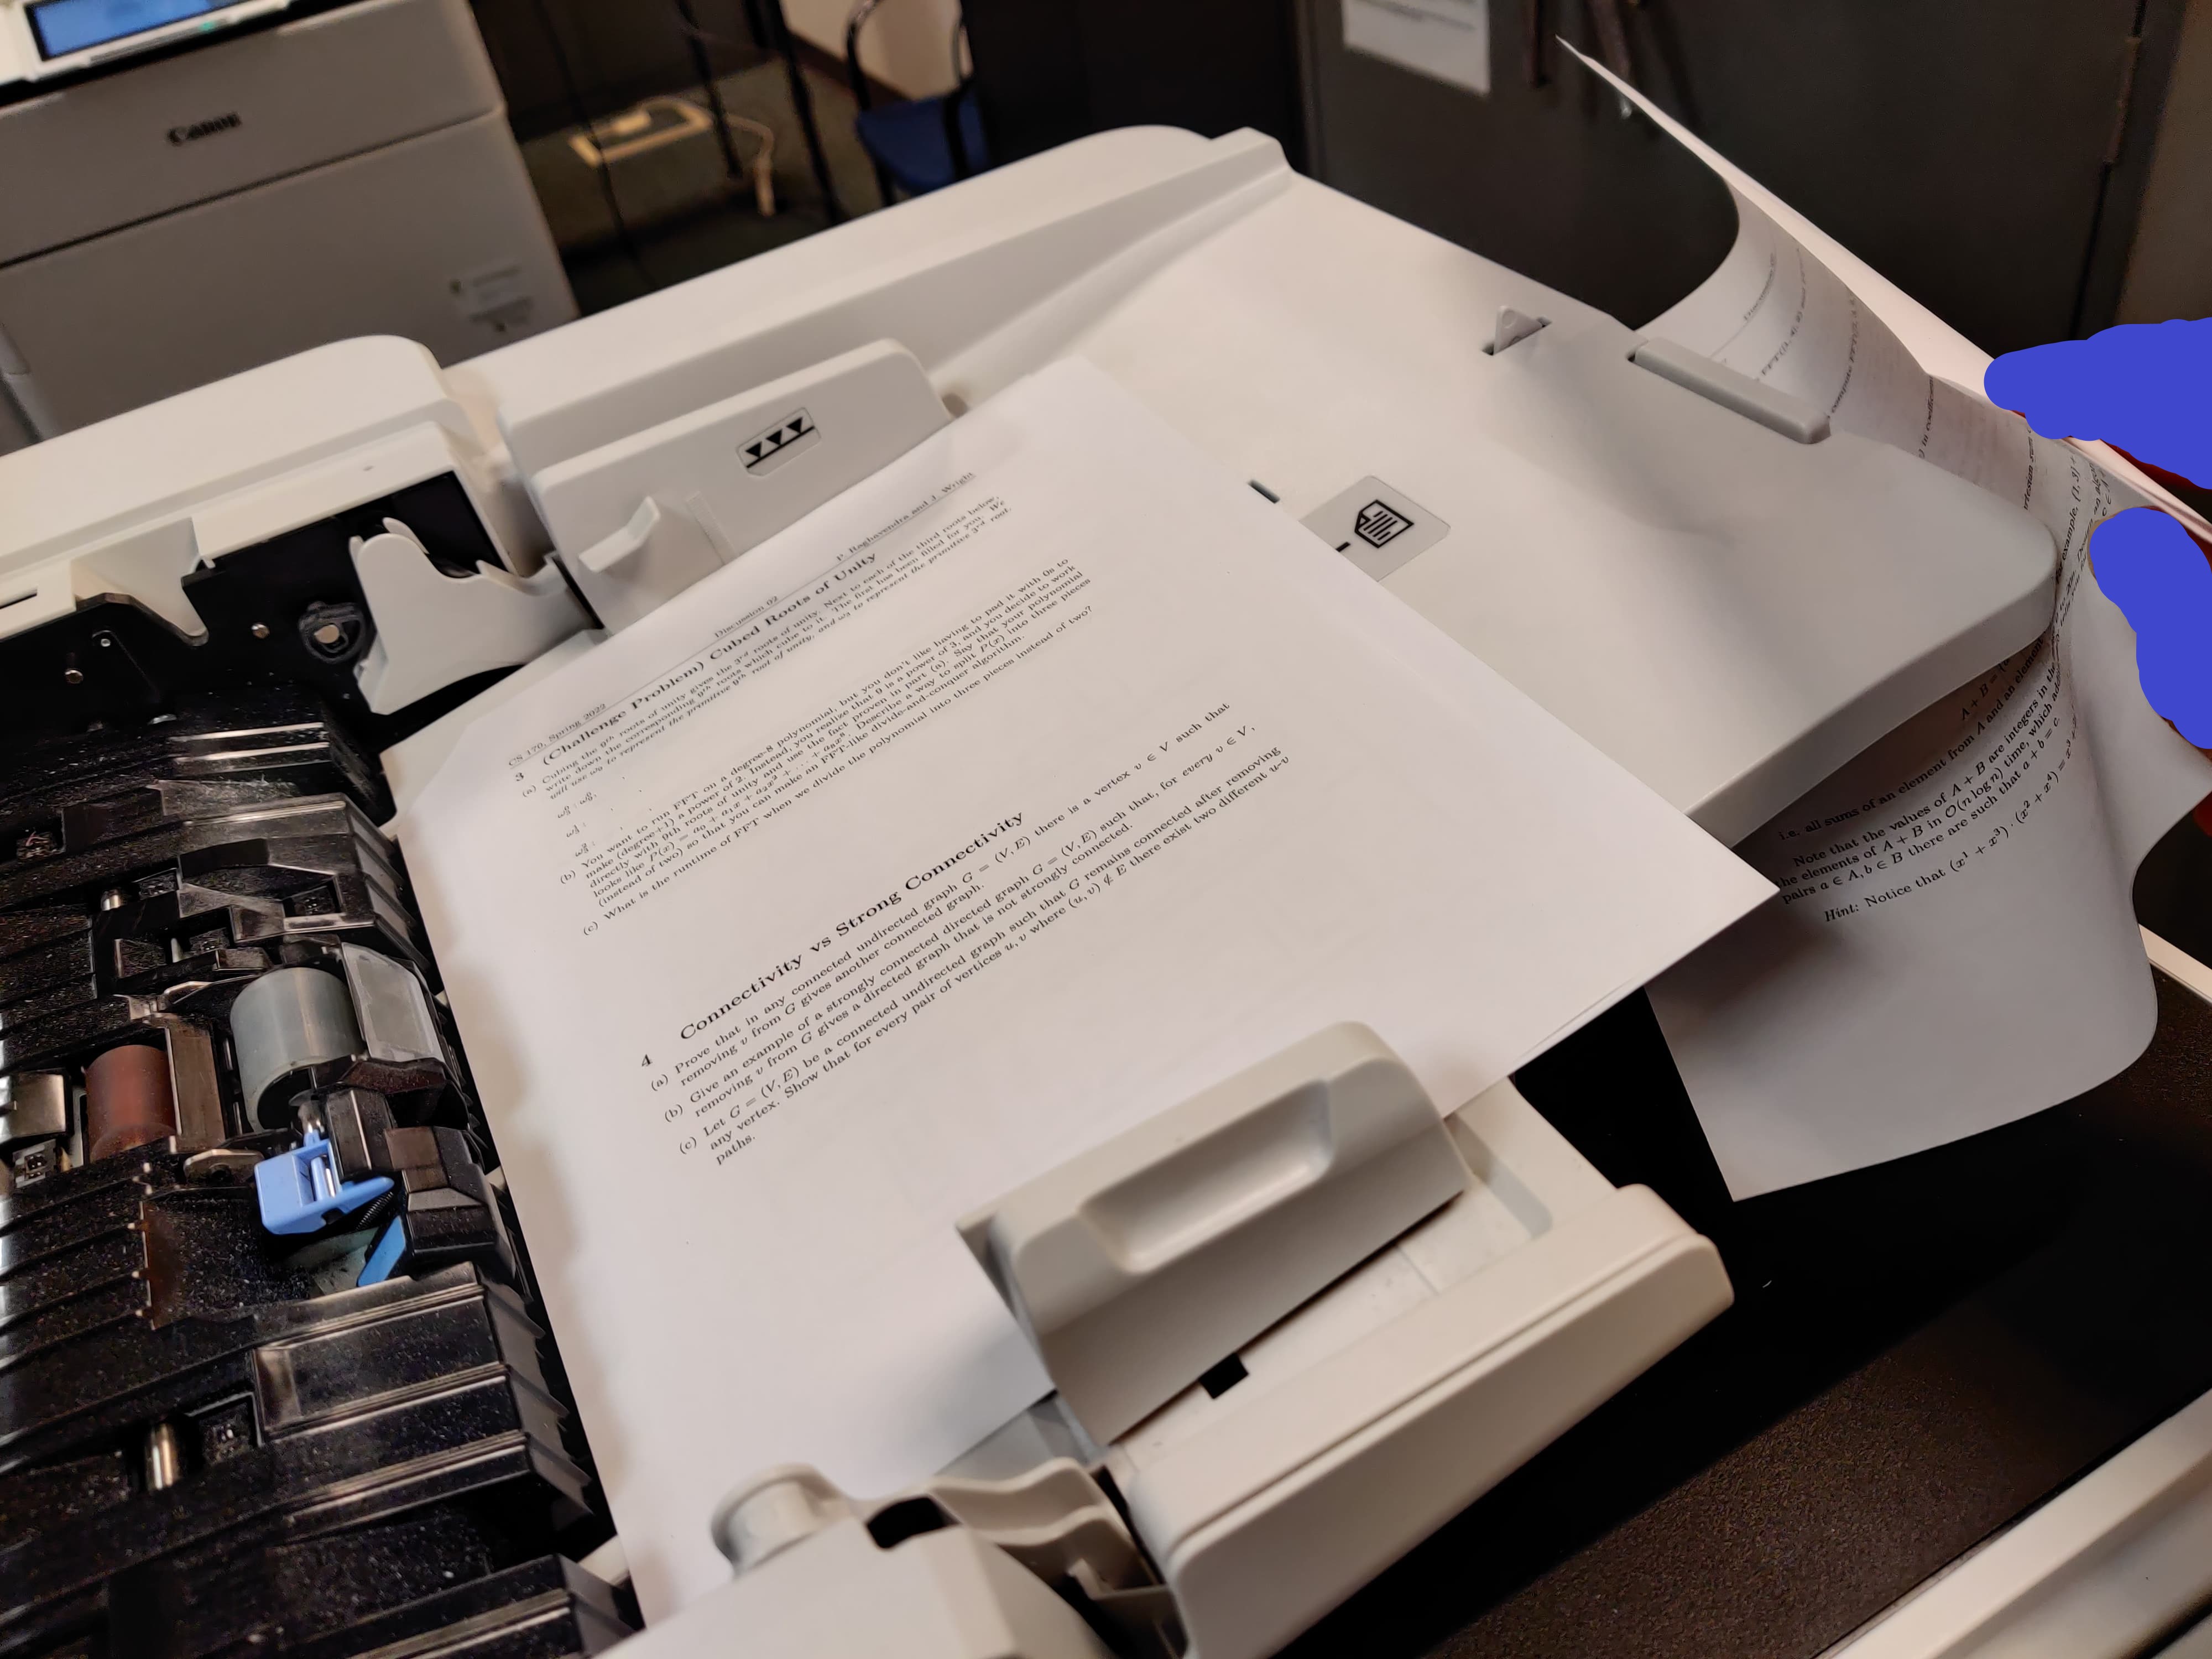
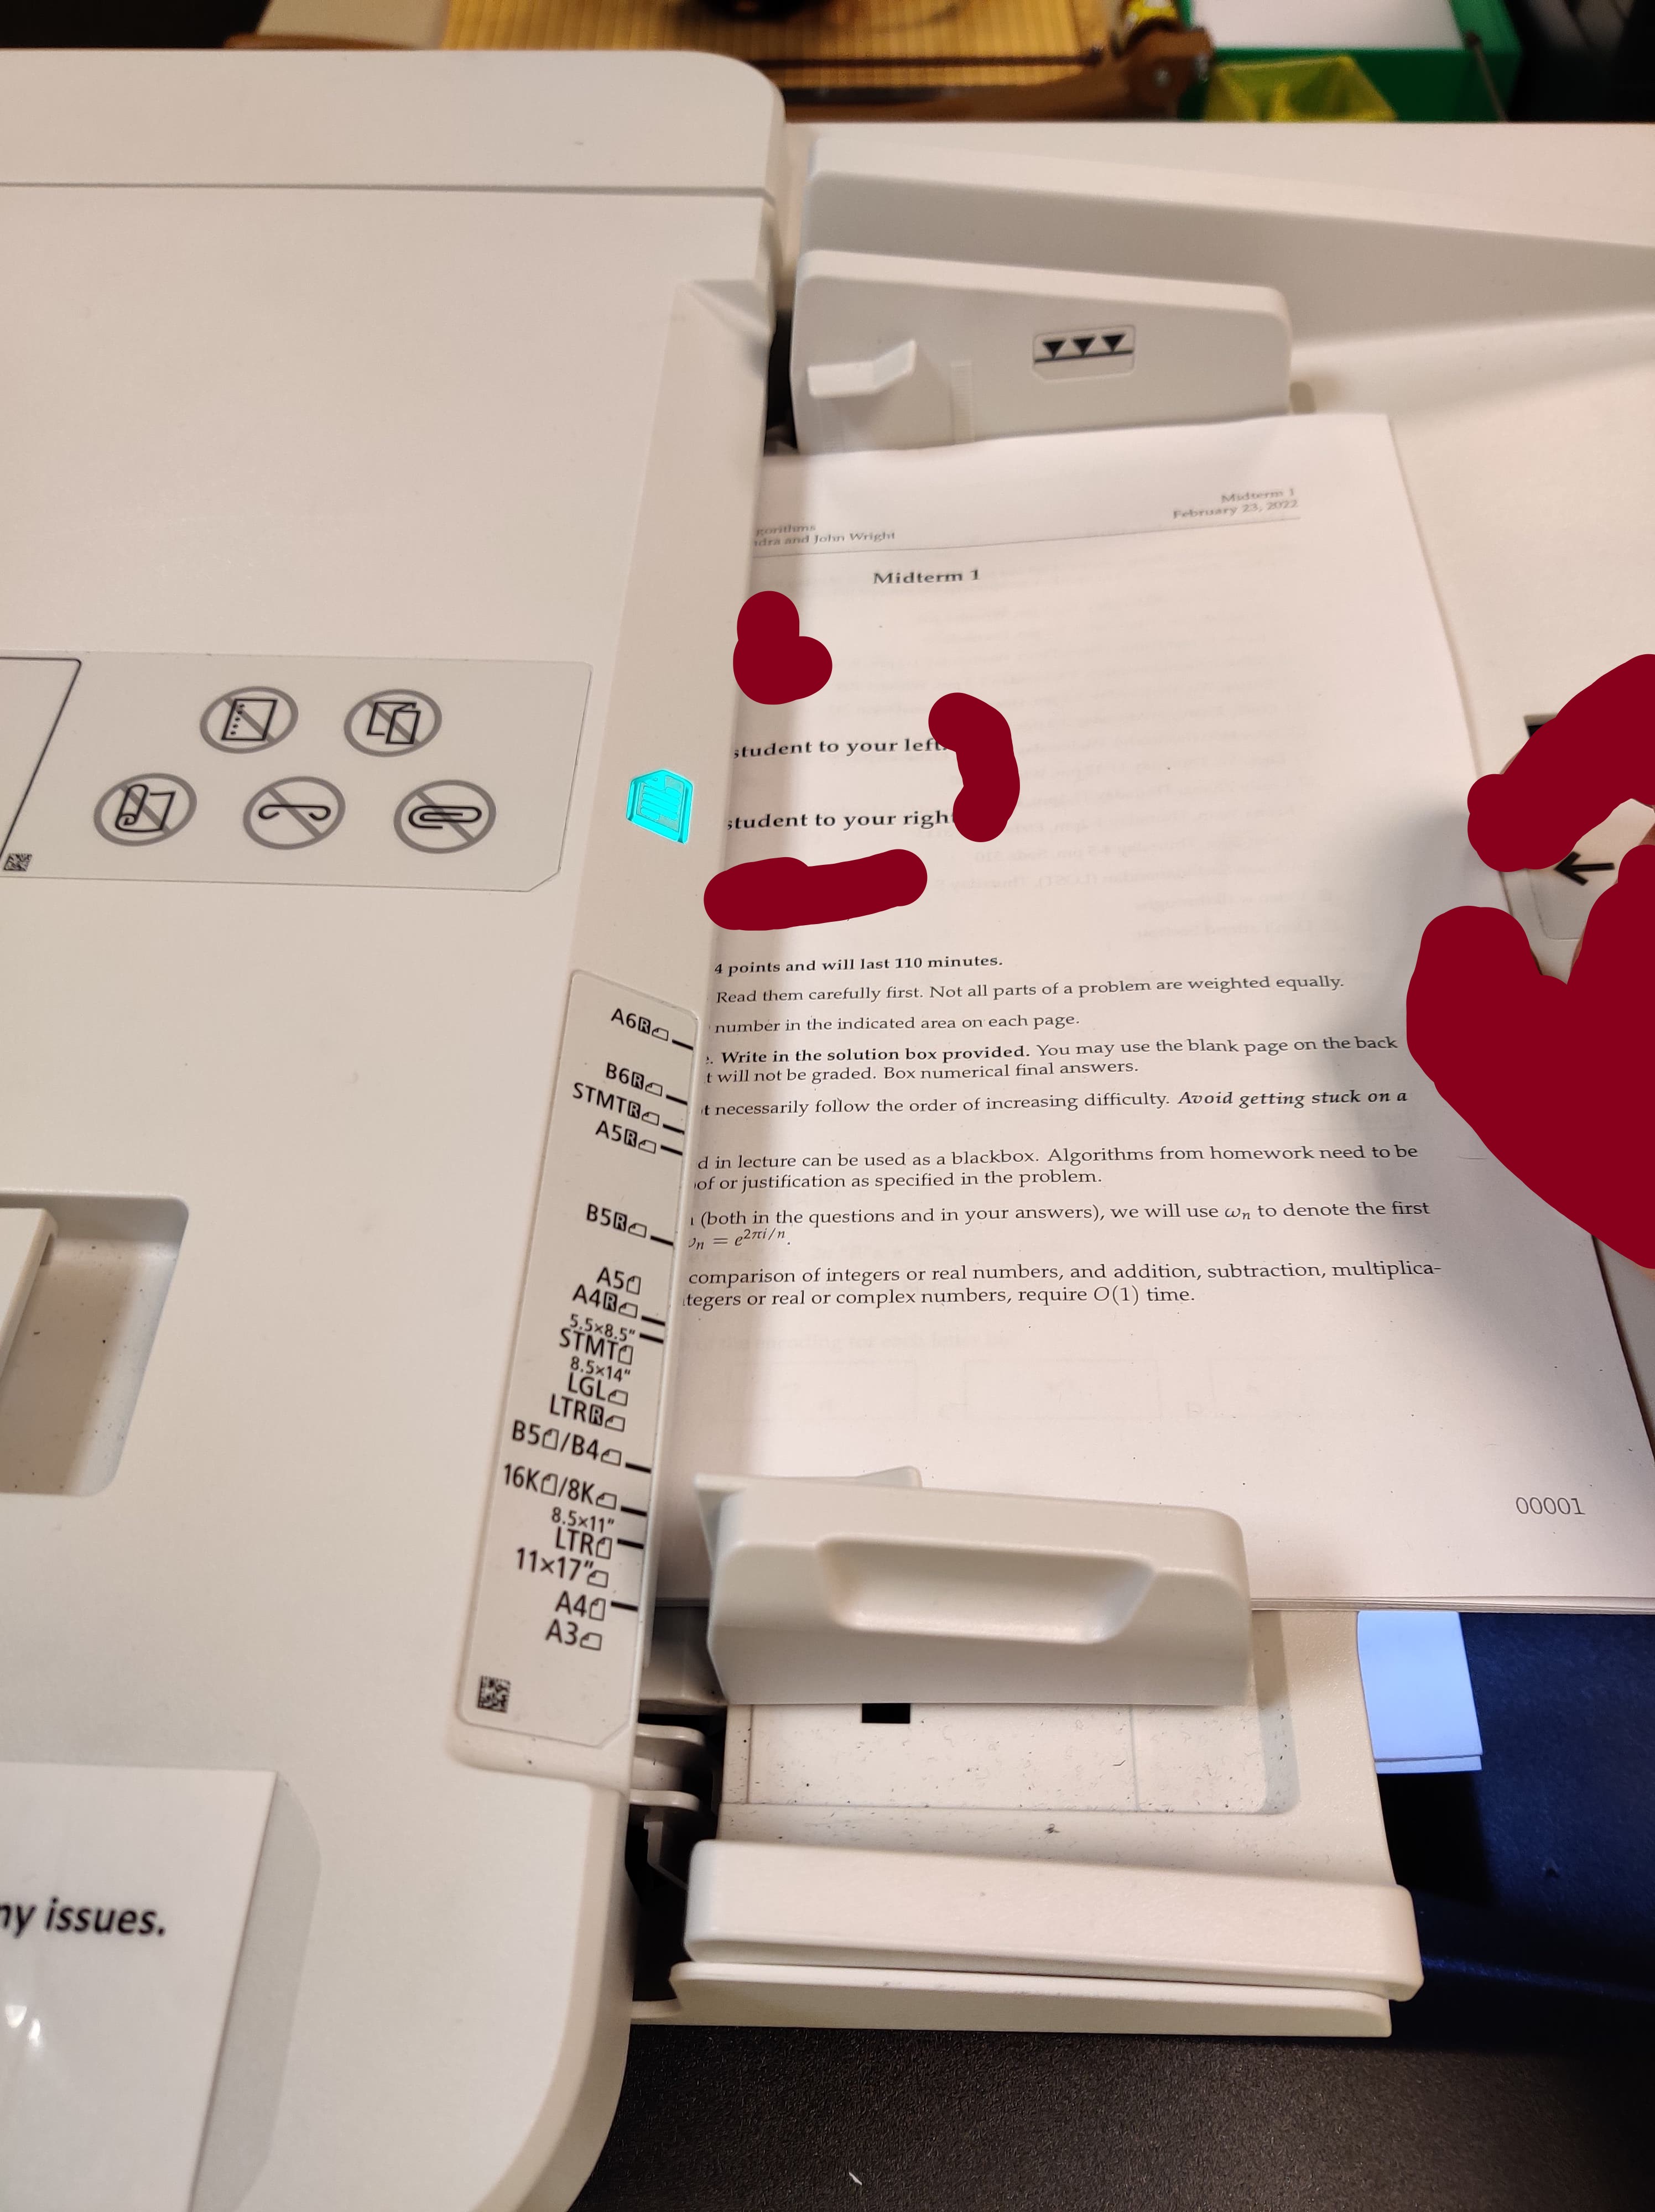
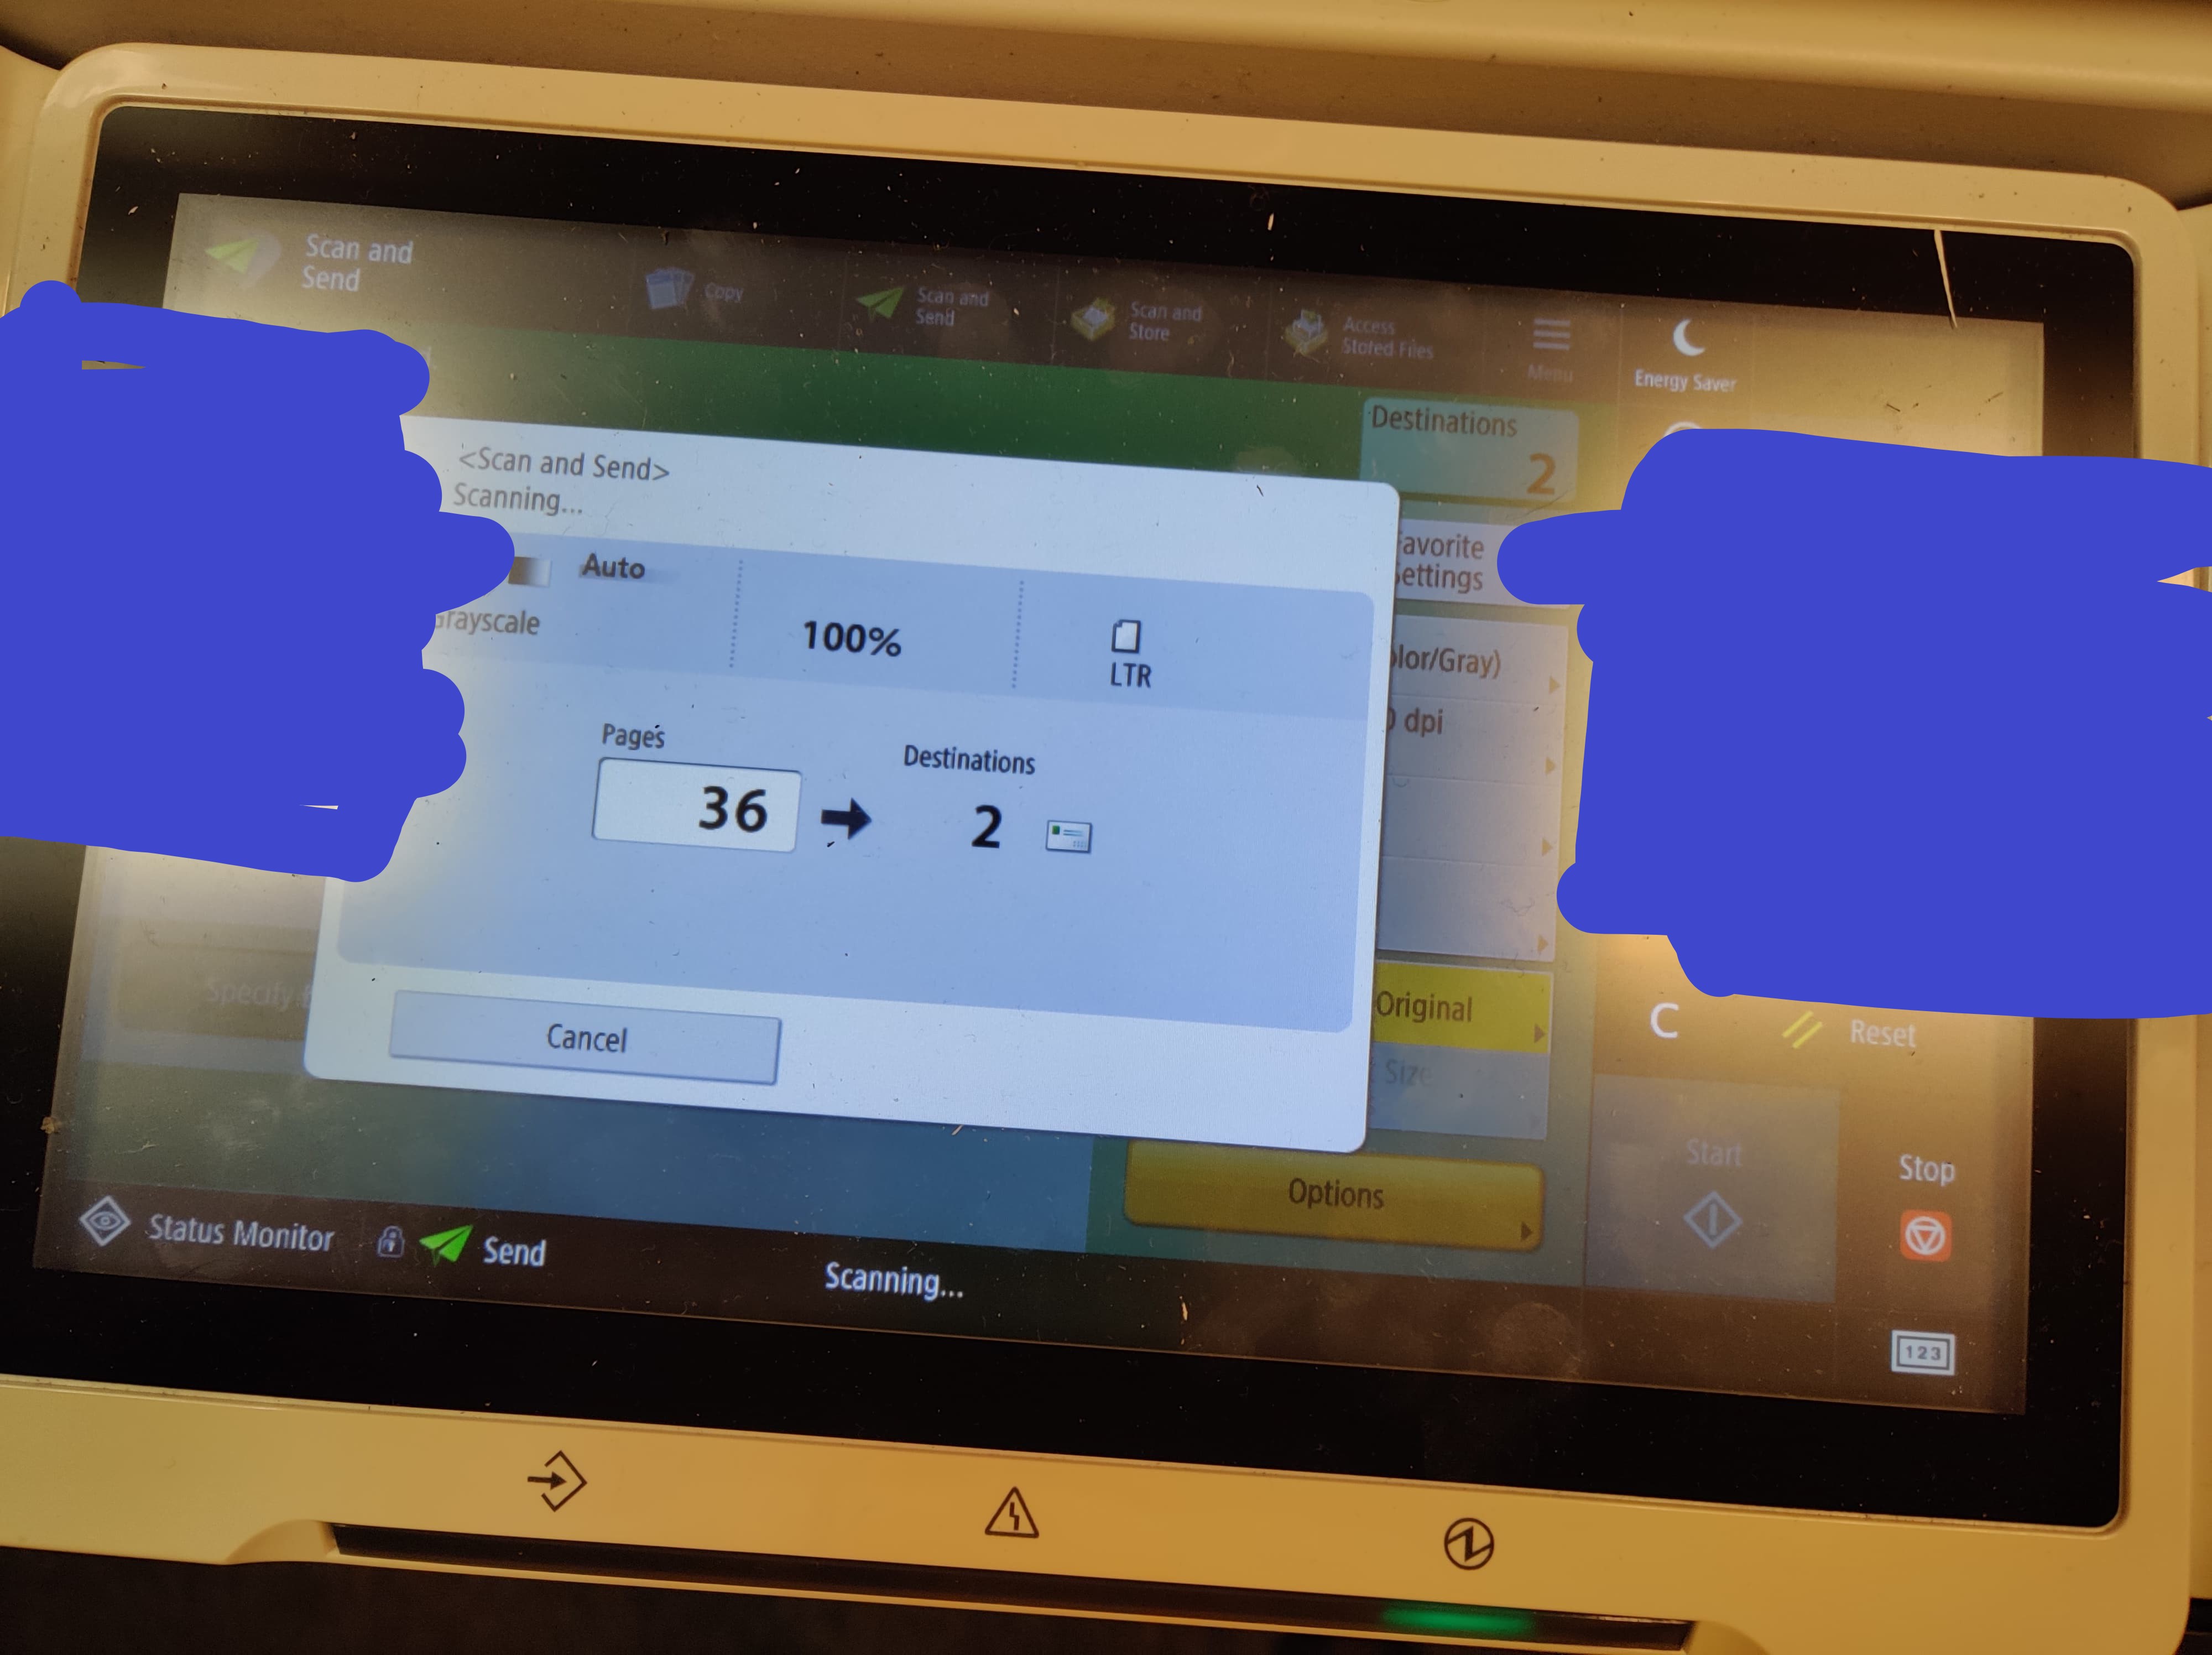
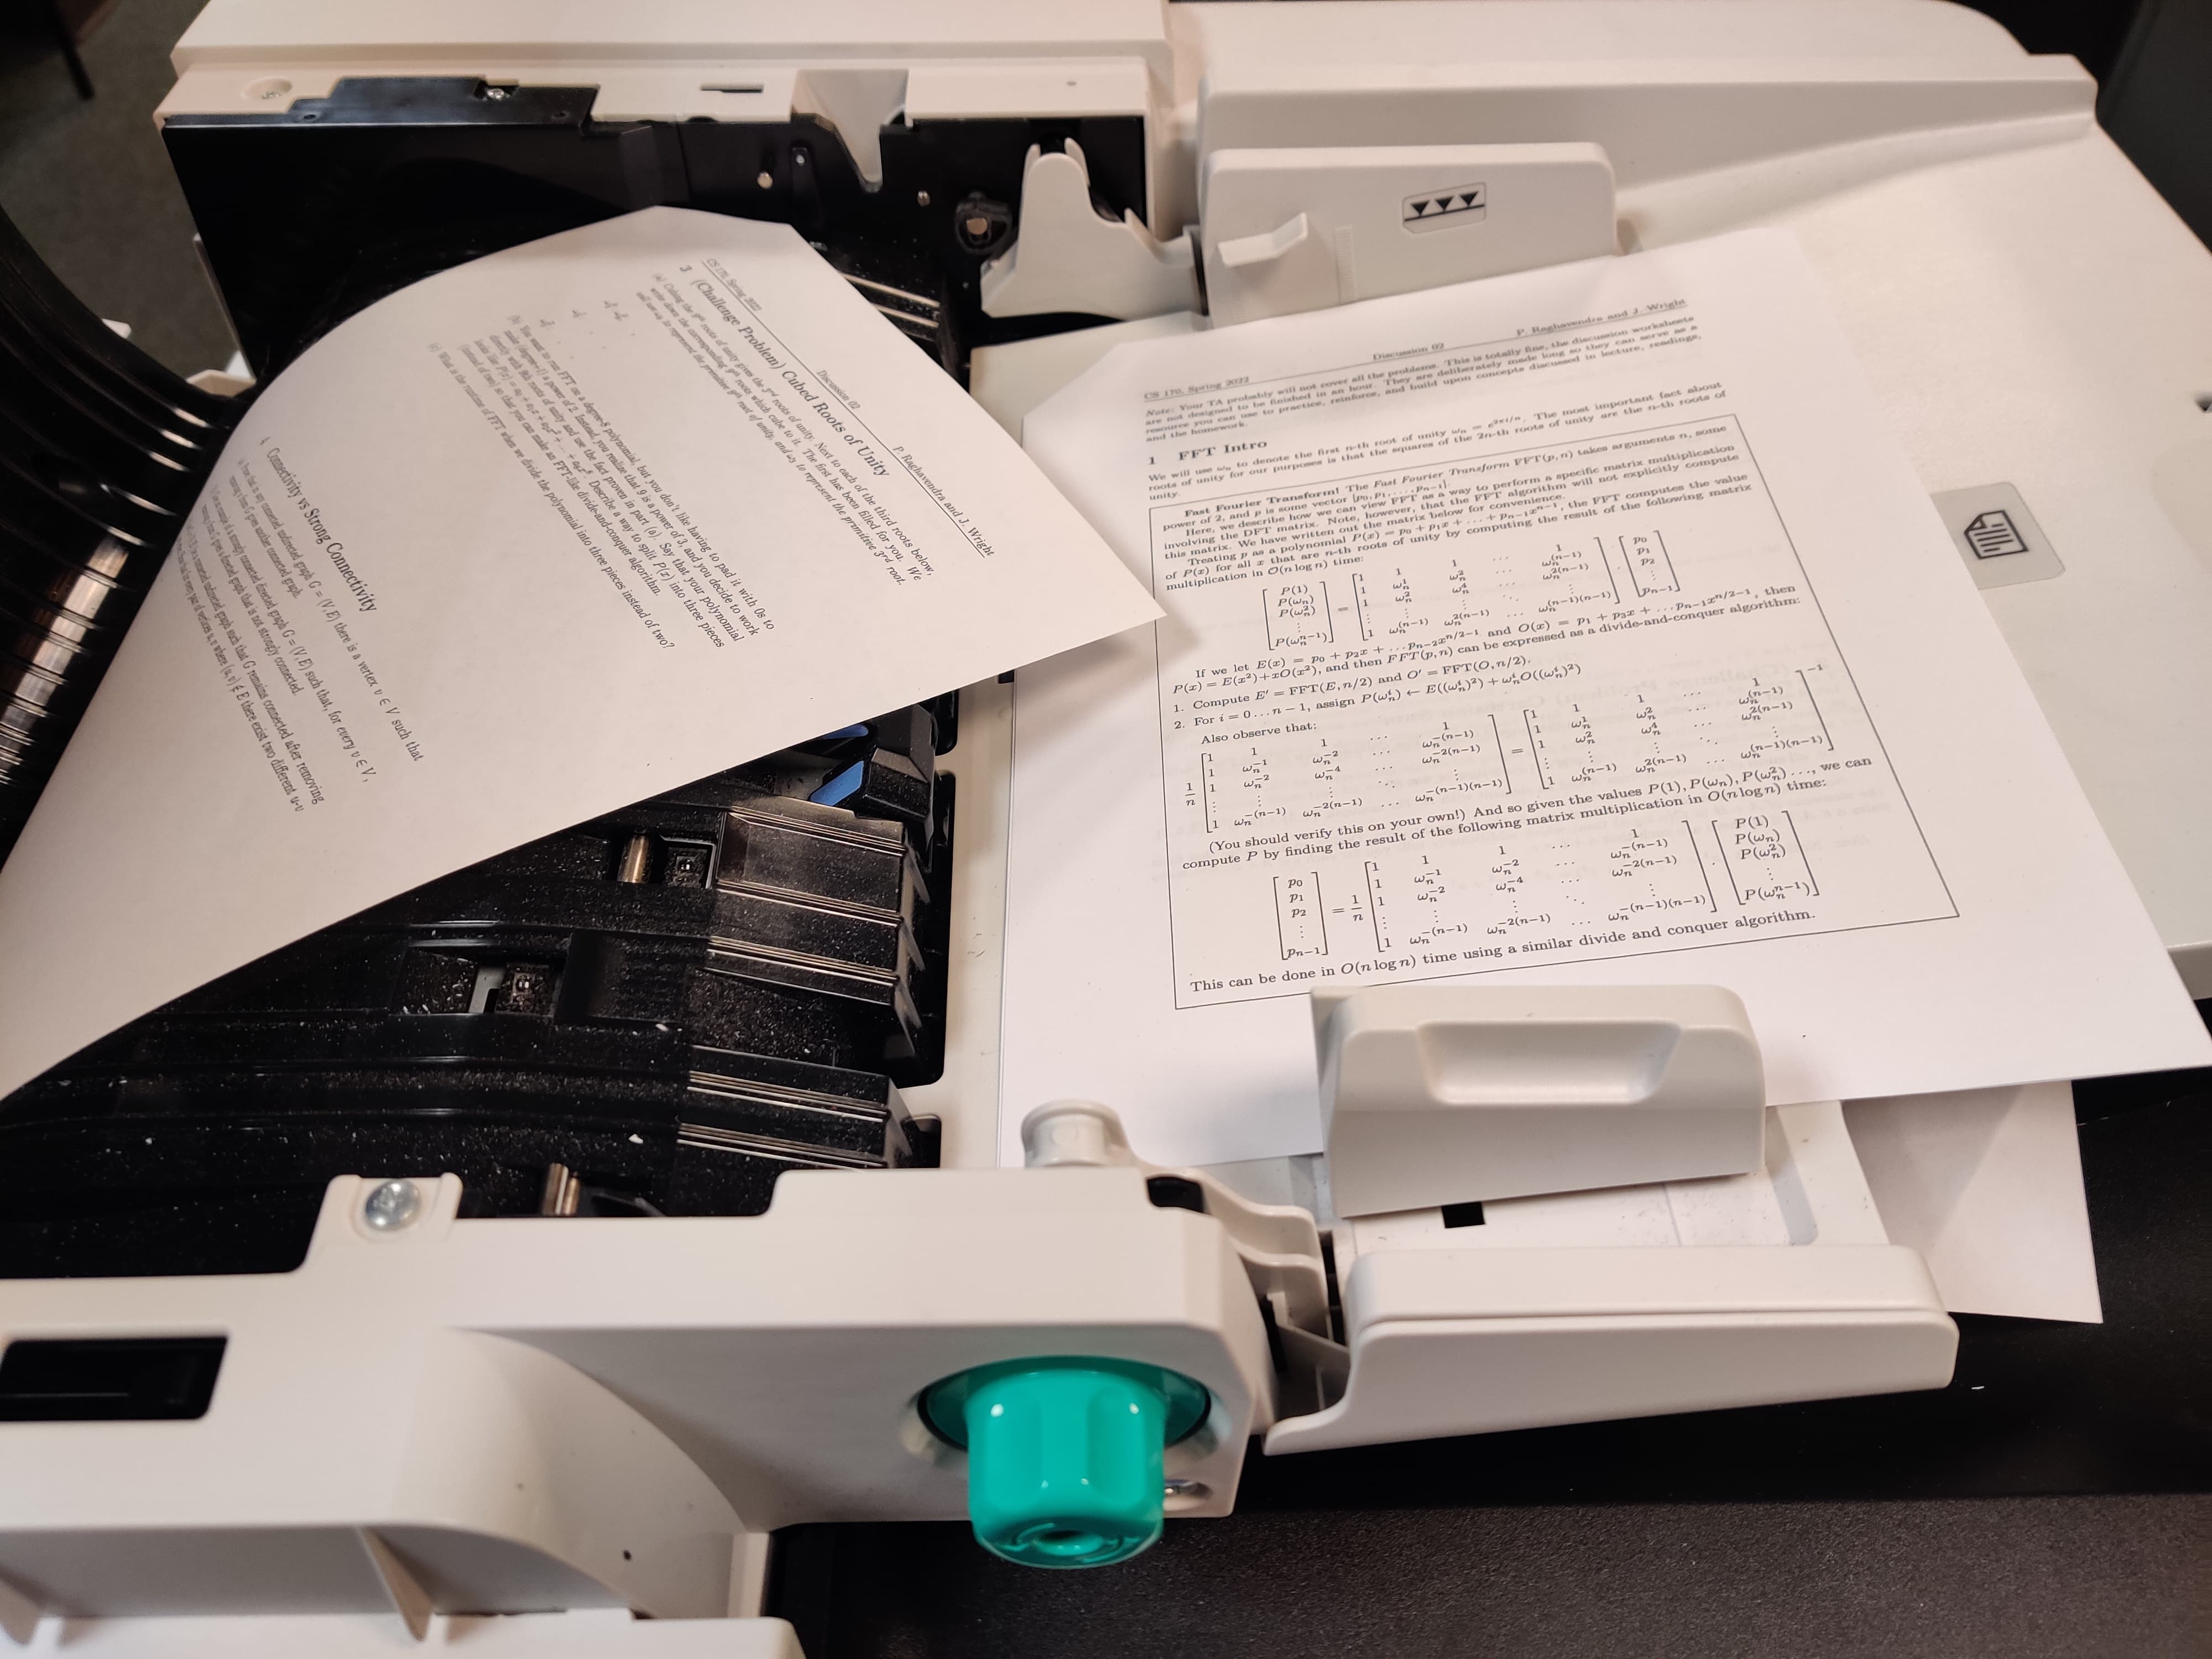
Put one or two “groups” of exams (that is, 3 or 6 exams, see last instruction in 2a) on the scanning area face up.
Press the big greed “START”.

As it scans, keep monitoring the “Pages”. After it scans all the exams, the total pages should be a multiple of pages of one exam. If it is not, confirm that no actual pages are missing (most of the time, it’s the scratch page being taken off). If actual pages are missing, FIND THEM, otherwise, you have two options:
- Leave as-is. Gradescope will be confused when processing this batch of scan and you will need to manually confirm the submission split.
- Insert a blank page to substitute the scratch page and scan again. If you choose to do so, record on Slack when did you do the problematic scan so head TAs will know which batches to omit.
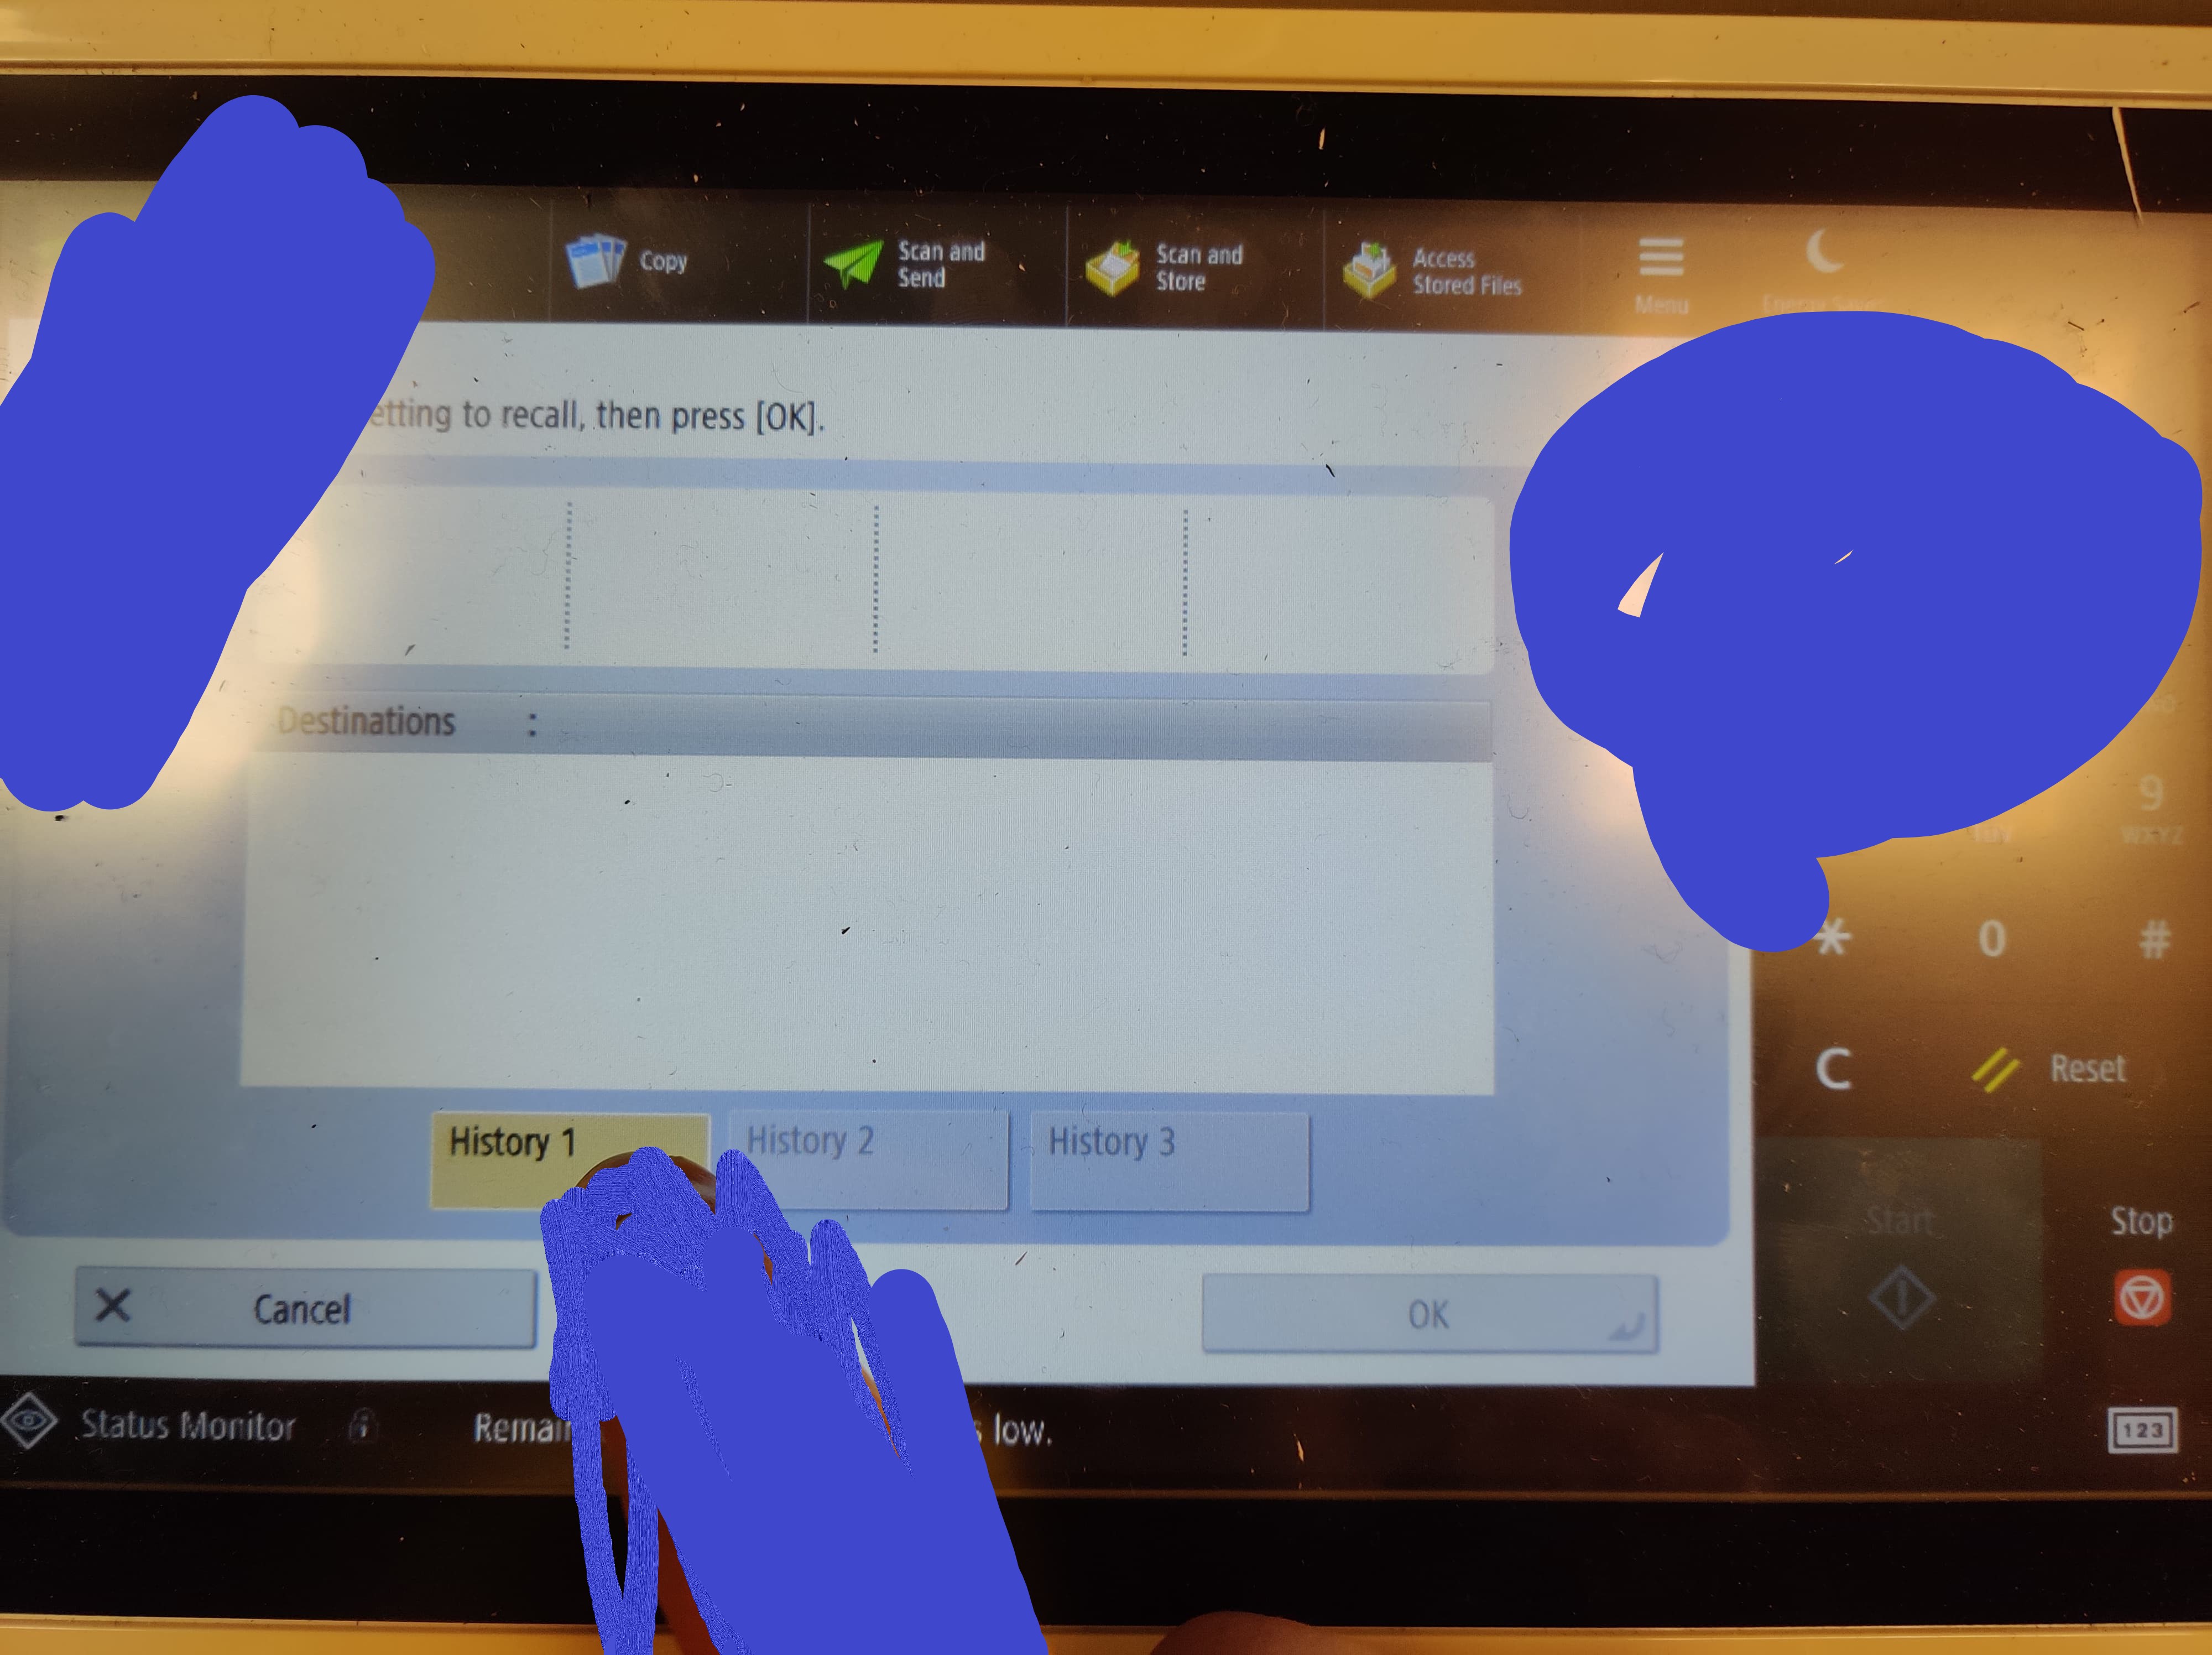
Do this until all exams are scanned. However, a way to boost your pipeline is to press “Previous Settings” after the first scan choose “History 1” - it should be yours.
Step2c: Scanner Debugging
More often than not, the scanner will screw things up. It is our responsibility to unscrew it.
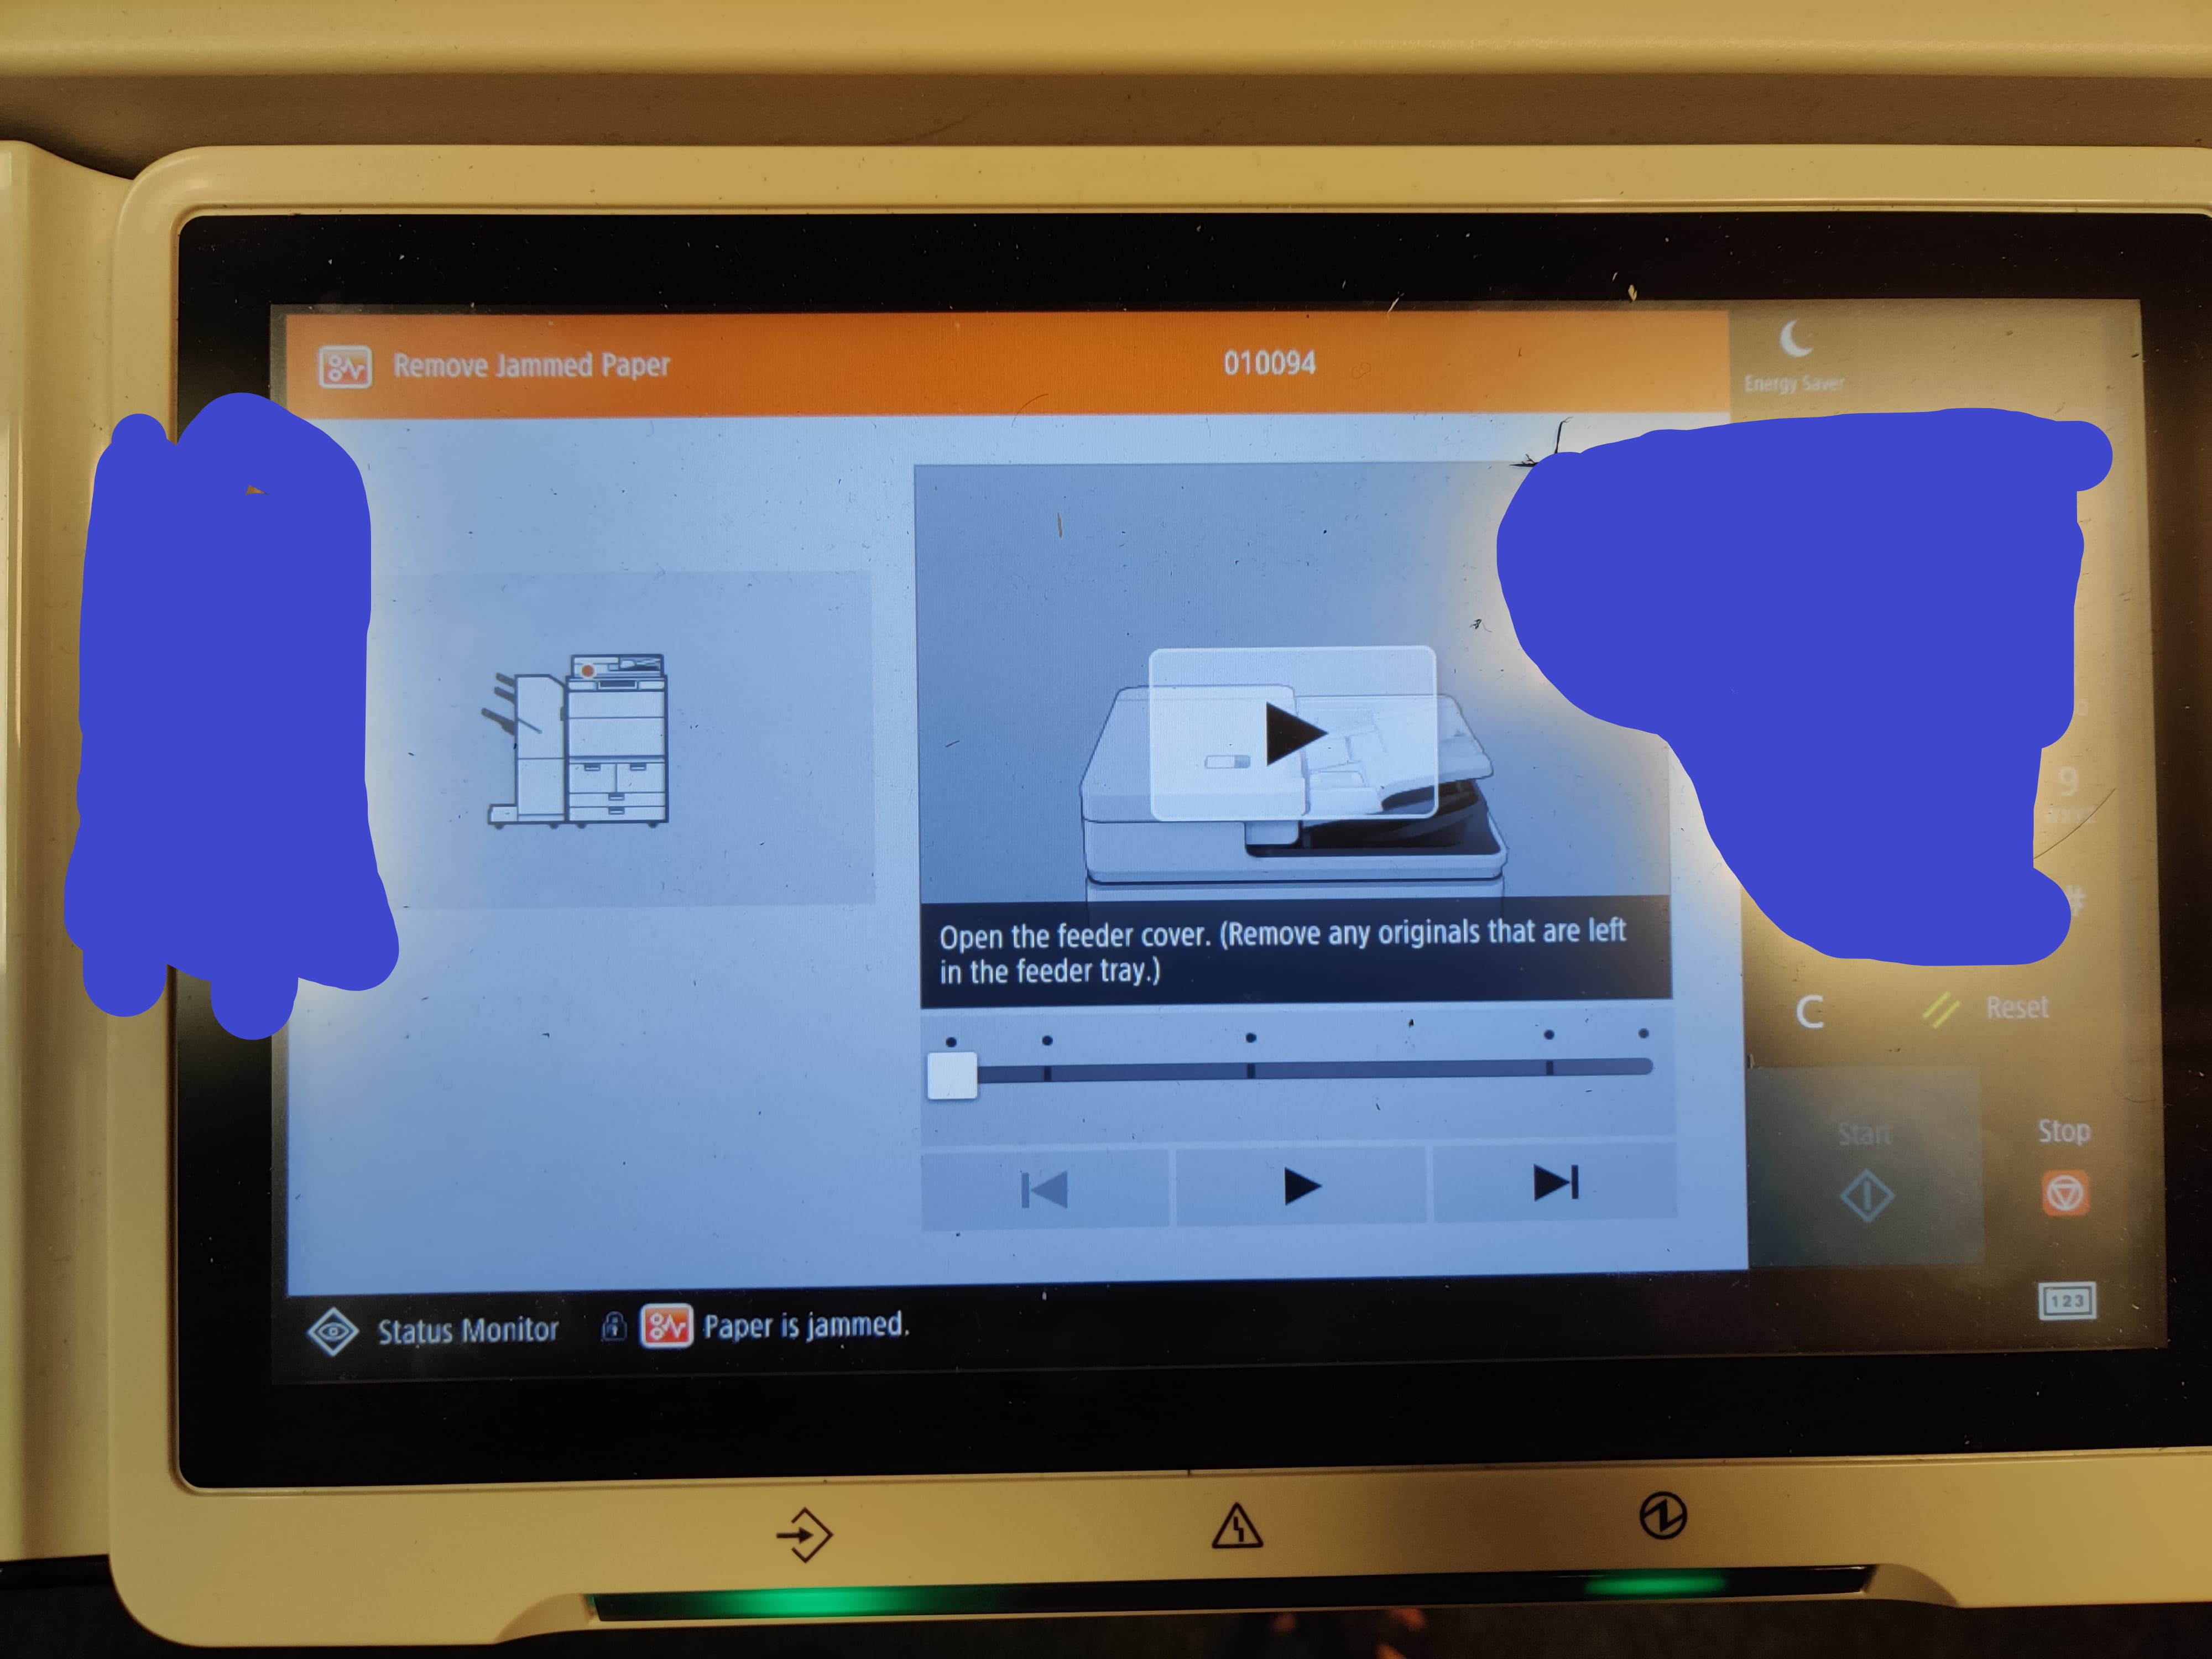
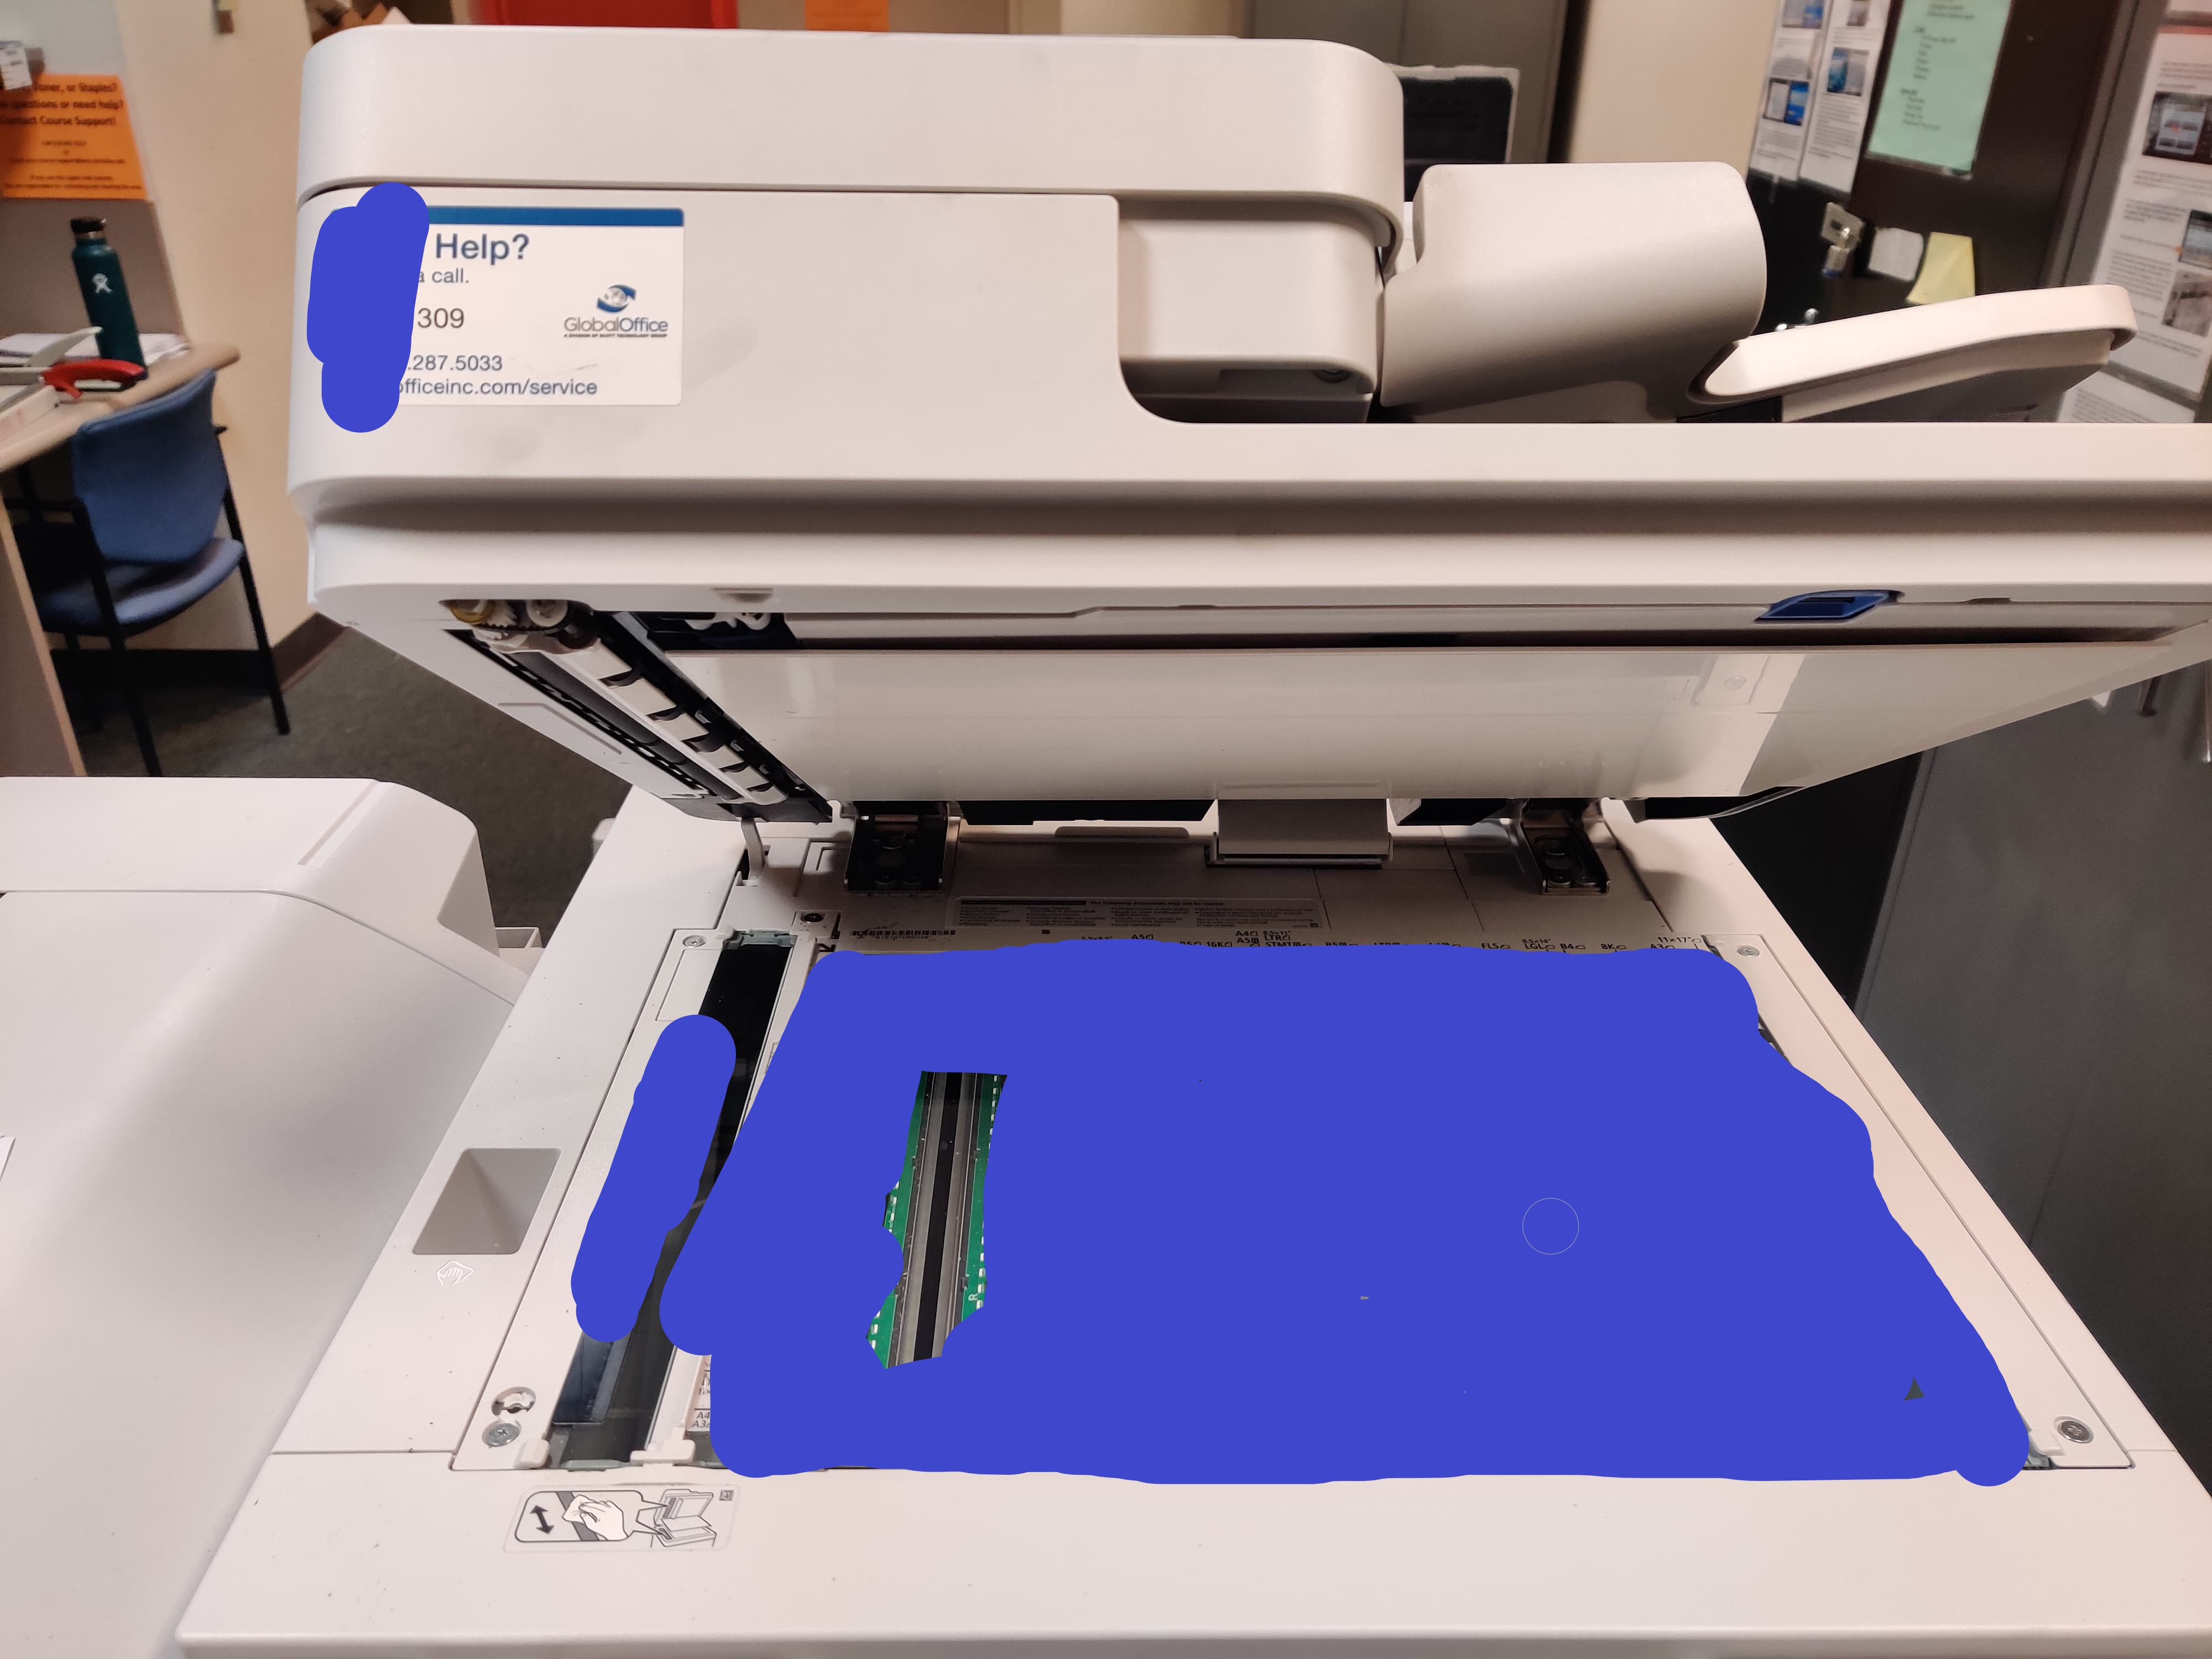
First, open the cover to pull out all stuck paper. You might need to pull with some force.
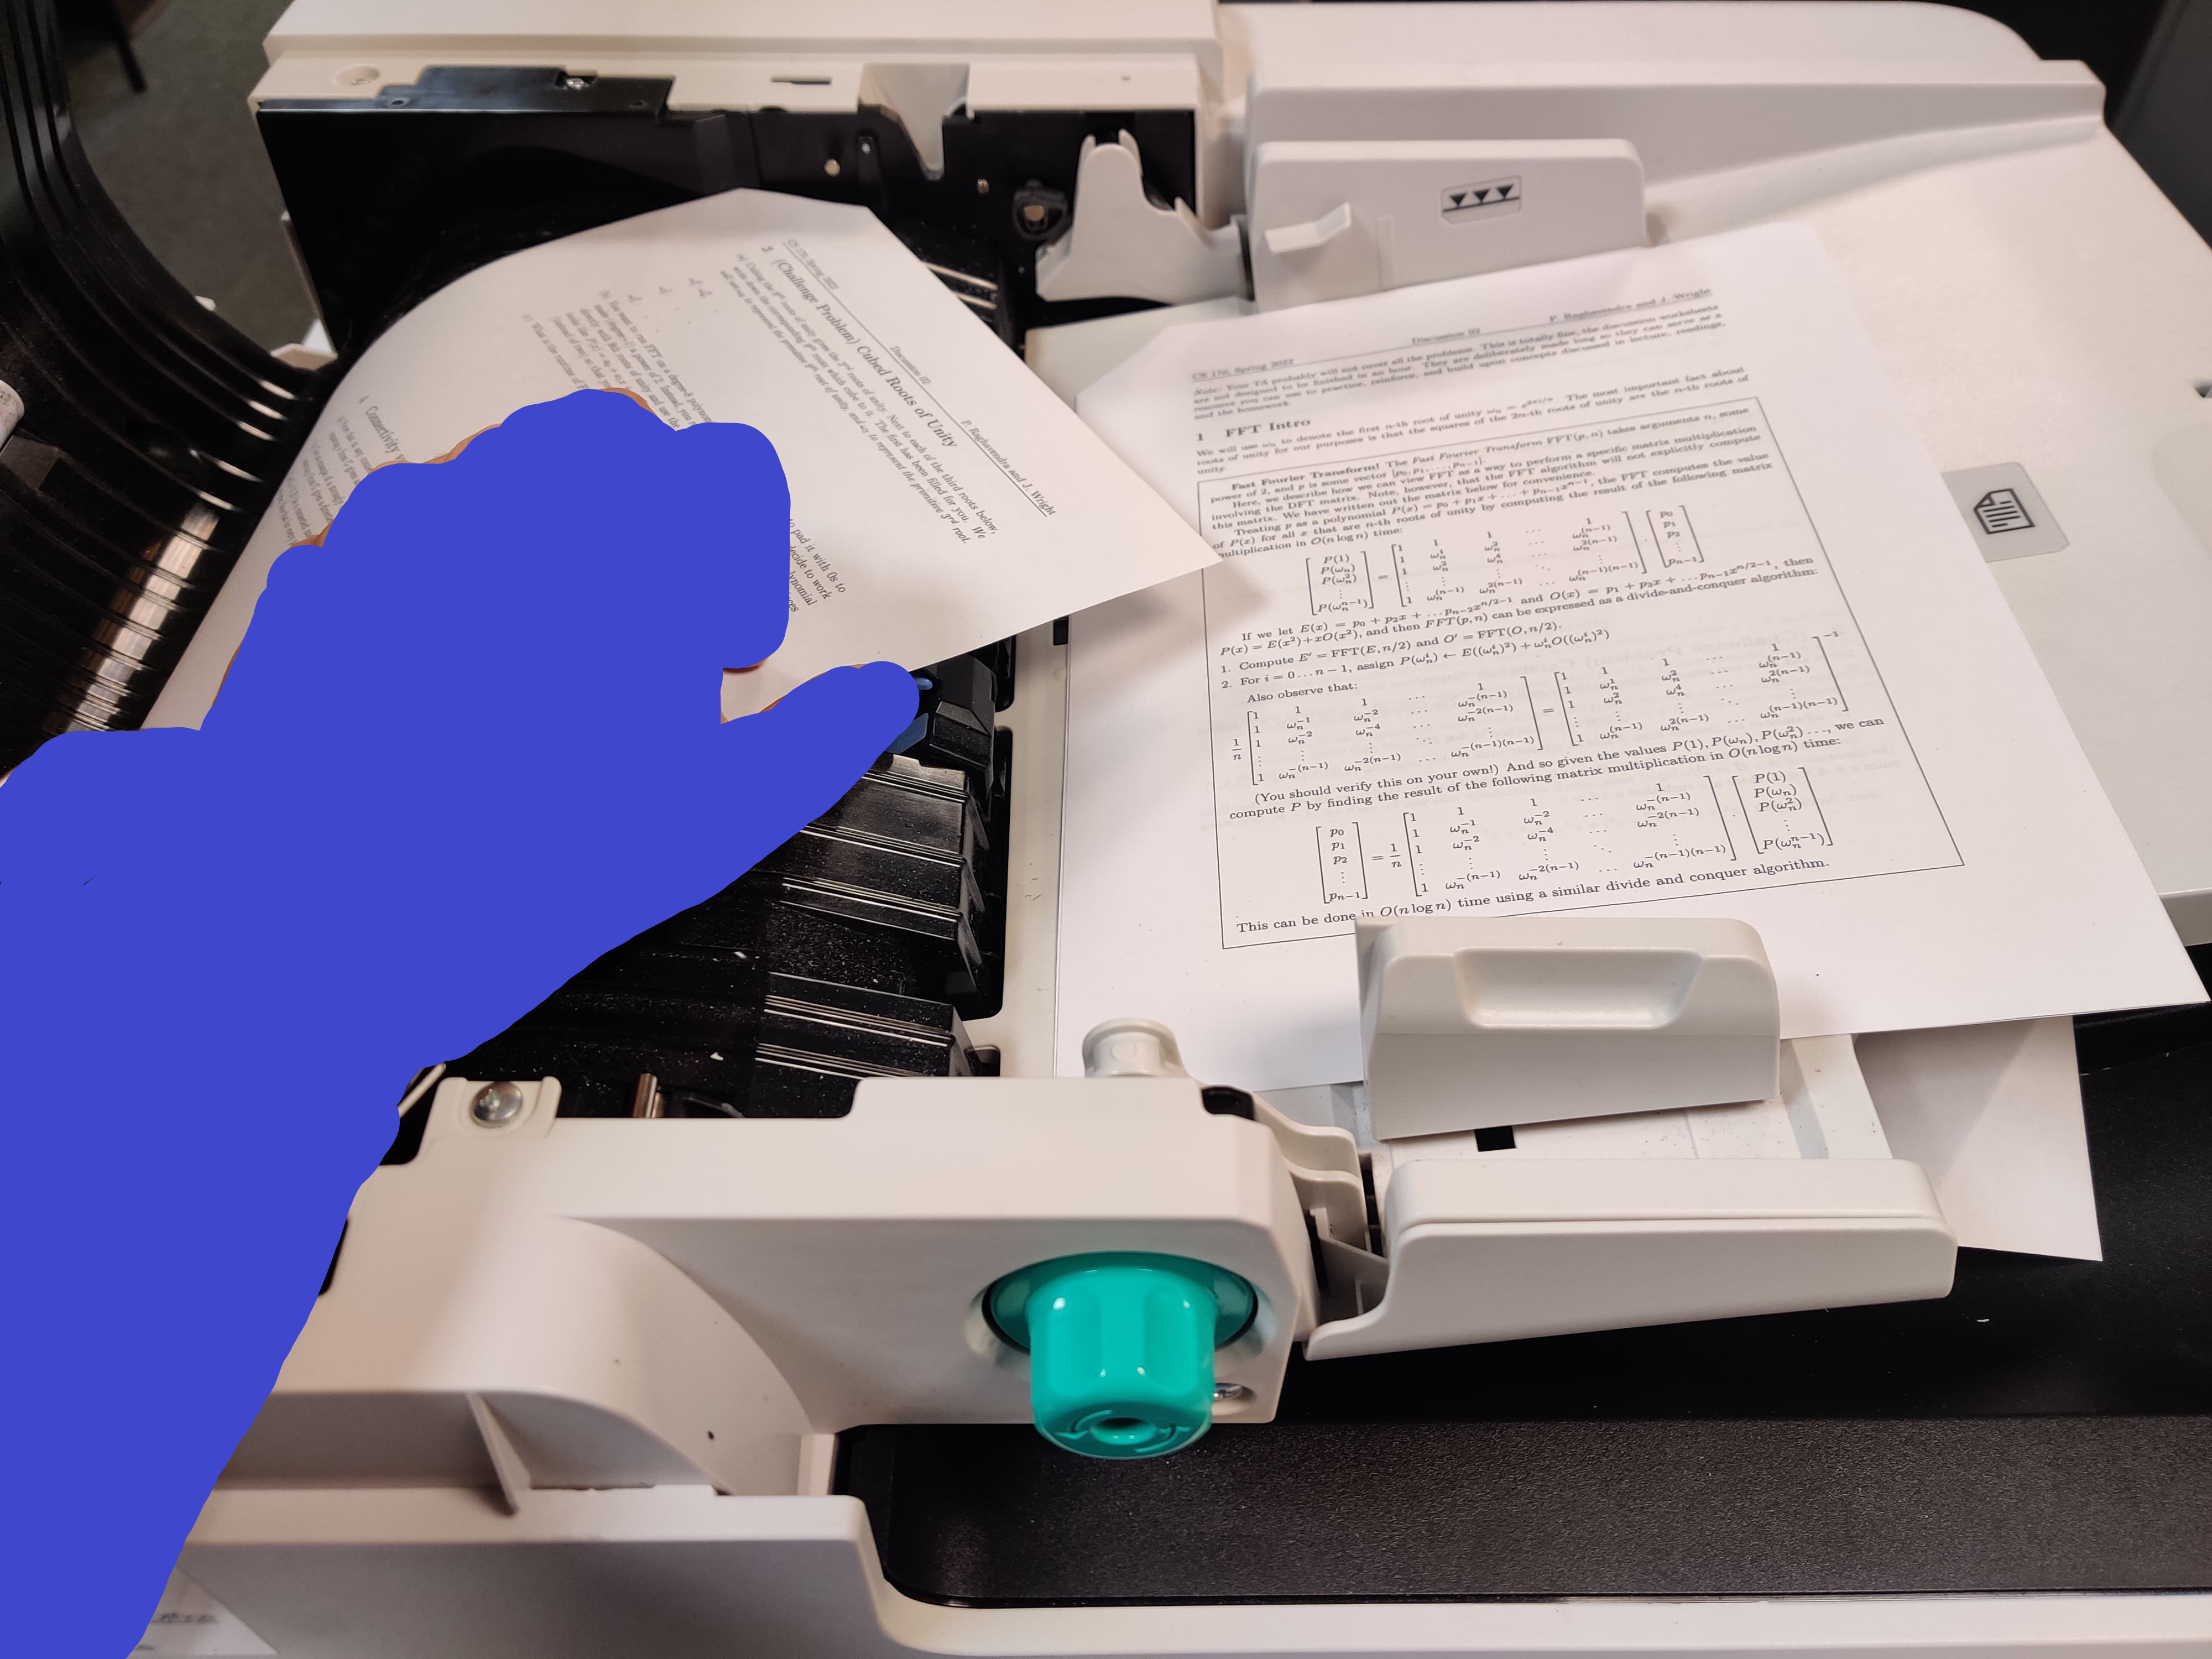
Then, flip the scanner open to make the scanner happy.
Don’t waste time and cancel the current job.

If needed, examine why the scanner screwed up (might be uncut staples or unseparated pages).
Take the scanned pages from the bottom, flip them and place them on top of unscanned pages. Take them off the document area and place them back again once there’s a green light. Then restart scanning procedure.